
When you sit down to format a blog post, your goal should be simple: make it incredibly easy to read. That means a clear structure, plenty of headings, short paragraphs, and visual breaks. This isn't just about looks; it's the foundation for keeping readers engaged and helping search engines figure out what your content is all about.
Why a Solid Formatting Strategy Matters
Before we get into the nitty-gritty of Markdown and front matter, let's talk about why a consistent formatting strategy is such a big deal. It's way more than just making things pretty. For a static site, it’s the bedrock of a good user experience, better search engine performance, and content that’s actually manageable in the long run.
Think about it from your own experience. You land on a page and are met with a giant, intimidating wall of text. What do you do? Most of us just leave. Clear headings, snappy paragraphs, and bullet points let people skim and find what they need in seconds. That's what keeps them on your page.
Connecting Structure to SEO and Scalability
This clean structure isn't just for human readers. All that Markdown formatting you're doing gets converted into semantic HTML, which is exactly what search engines like Google use to understand your content's hierarchy. A well-placed H2 tag signals the main topic of a section, which helps your article rank for the right keywords.
On a practical level, having a consistent formatting system is a huge time-saver. When every post follows the same template, making updates or collaborating with a team becomes a breeze. As your blog grows, this kind of scalability is a lifesaver. It’s the same logic that powers massive content systems, where structure is everything. In fact, the enterprise content management market is expected to hit USD 190.87 billion by 2035, all because of the growing need to handle data efficiently.
Ultimately, a great format turns your content from a simple article into a reusable, scalable, and effective asset that works for you long after you hit publish.
To get a deeper appreciation for how content is presented, it’s worth looking into the principles of Desktop Publishing (DTP). It reinforces the timeless idea that how you present information is just as important as the information itself.
Mastering Front Matter for Your Static Site
Think of front matter as the brain of your blog post. It's that neat block of metadata sitting right at the top of your Markdown file, giving your static site generator all the instructions it needs to handle the content. If you're going to format a blog post for a static site, getting this part right is non-negotiable.
This metadata is what controls everything from the post's title and publication date to more sophisticated SEO tags and even custom variables your theme might use. Most of the time, you'll write it in either YAML (wrapped in --- dividers) or TOML (using +++ dividers). Your choice usually comes down to your static site generator—Jekyll, for instance, uses YAML out of the box, while Hugo leans towards TOML.
Core Fields in YAML and TOML
Let's break down the essentials. Every post needs a title (what your readers see), a date (which controls its position on your blog), and usually some tags or categories to keep things organized. A description is also a must-have for SEO, as this is often what Google shows in search results.
The syntax between YAML and TOML is slightly different, but the goal is the same. Here’s a quick look at how they compare for the same piece of content.
Essential Front Matter Fields YAML vs TOML
This table gives you a side-by-side comparison of common front matter fields. It's a handy cheat sheet for translating between the two syntaxes, which you'll find yourself doing if you ever switch between generators like Jekyll and Hugo.
| Field | Purpose | YAML Example | TOML Example |
|---|---|---|---|
title |
The main headline of the post | title: My Awesome Blog Post |
title = "My Awesome Blog Post" |
date |
Publication timestamp | date: 2024-10-26 |
date = 2024-10-26 |
tags |
A list of relevant topics | tags: [tech, ssg, blog] |
tags = ["tech", "ssg", "blog"] |
description |
SEO meta description | description: A short summary. |
description = "A short summary." |
See the difference? YAML is all about colons and careful indentation, whereas TOML uses equals signs and square brackets for lists. It's a small detail, but getting it wrong can stop your site from building.
Expanding with Custom Fields
The real power of front matter comes from custom fields. This is where you can add unique data that your theme can use to change how a post looks or behaves.
featured_image:Point to a specific banner image for the post.draft: trueA lifesaver. This lets you commit a post without it going live.series:Group related articles together, perfect for a multi-part tutorial.
By mastering front matter, you move from just writing content to architecting it. Each field is a lever you can pull to improve SEO, user experience, and content organization without ever touching a line of your site's theme code.
This is why structure is so important. Getting your formatting right from the start has a ripple effect, improving everything from reader engagement to how easily your site can be managed down the line.

Every element, from a simple front matter field to a properly structured heading, plays a part. This is where a visual editor can be a game-changer, since you don't have to worry about memorizing syntax or making a typo.
Tools like JekyllPad give you a straightforward interface for all these fields. It helps you dodge common mistakes, like a misplaced space in a YAML file that could break your entire site build. It essentially turns a technical chore into a simple form, so you can just focus on writing.
Structuring Content for Readability and Flow
With your front matter locked in, it's time to get into the heart of the post. How you format a blog post body is what makes the difference between an article that hooks a reader and a wall of text that has them hitting the back button. Your job is to create a clear, logical path for their eyes to follow.
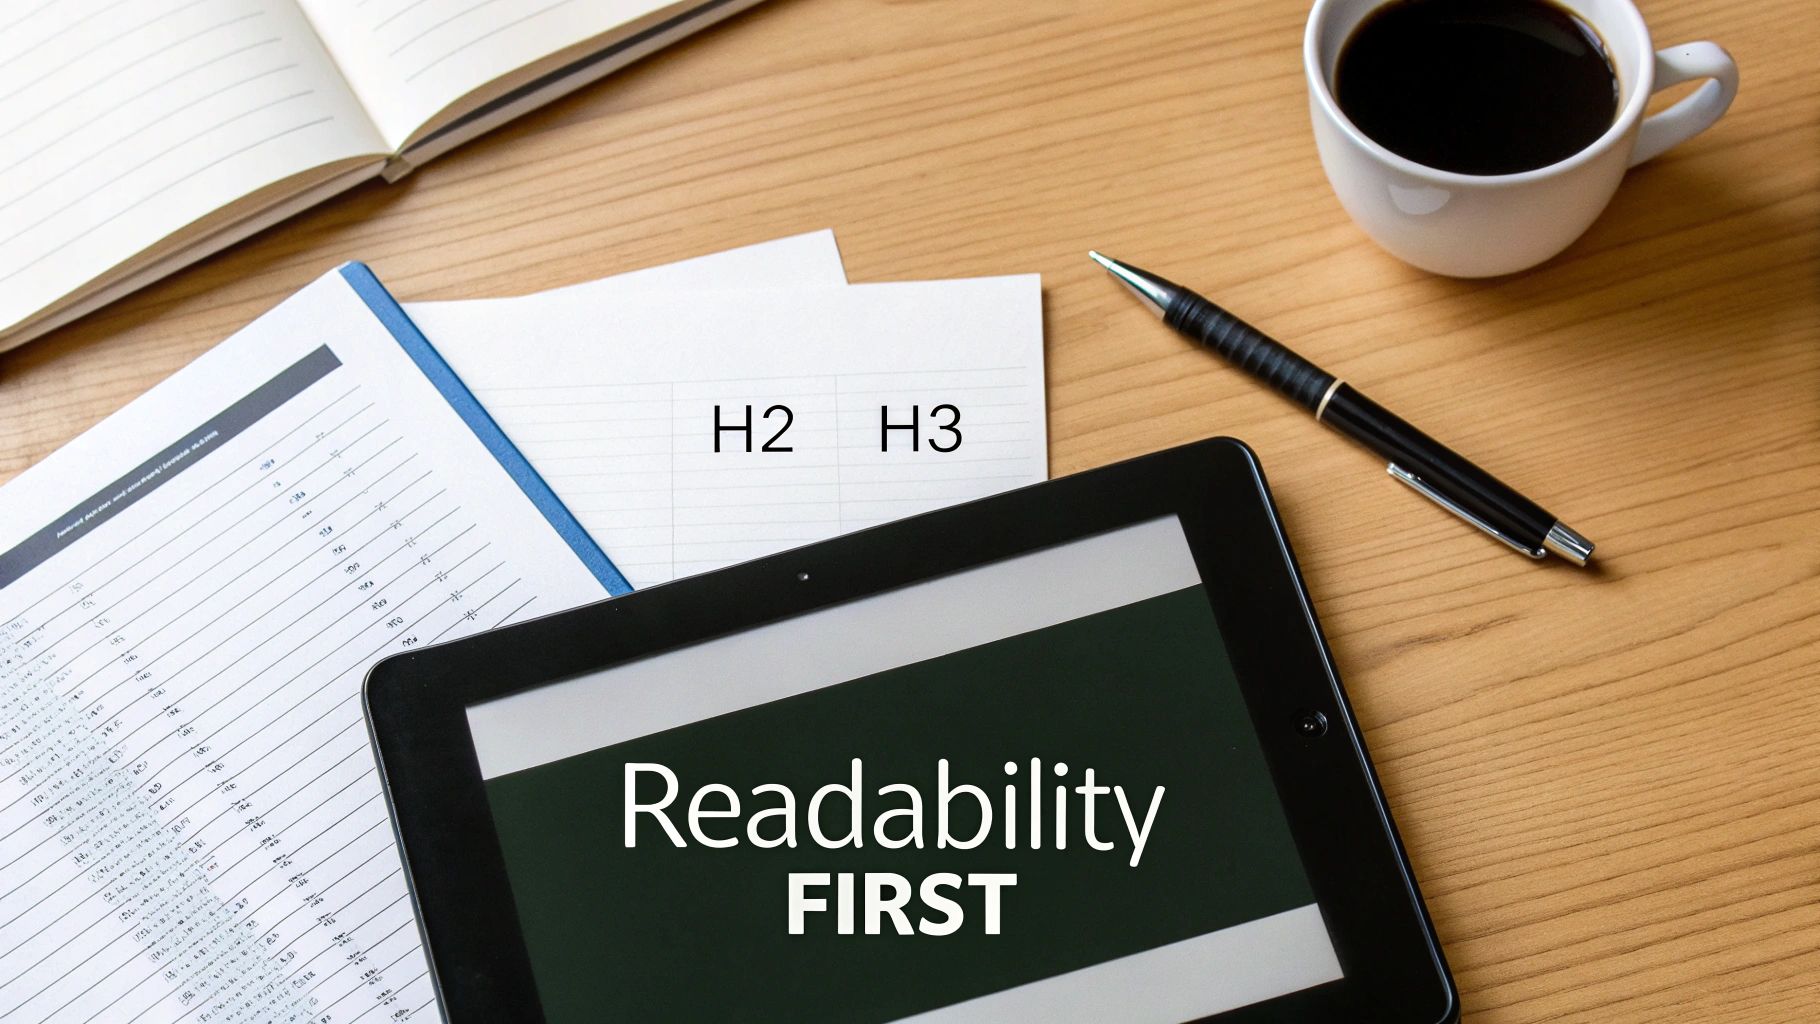
The whole game is about hierarchy. Your main title is the H1, which is usually handled by your theme. Then, you'll use H2s for your main sections and H3s for the sub-points within them. Think of it as building a mental map for your audience. This structure lets them skim and find exactly what they need without getting lost or overwhelmed.
Remember, the goal is scannability. Most people don't read online content word-for-word; they scan for headings, keywords, and phrases that pop. Your formatting choices need to cater directly to this behavior.
Writing for the Modern Skimmer
One of the most effective habits you can build is writing short paragraphs. I'm talking one to three sentences, maximum. This simple change injects valuable white space into your layout, making the content feel airy and much less intimidating, especially on a phone screen.
Next, you need to draw attention to the most important bits. Using bold text is a great way to highlight critical takeaways or specific data points. Italics work well for adding a touch of emphasis, while blockquotes are perfect for pulling out a powerful insight.
- Bolding: Use it for statistics, key terms, or definitive conclusions. It's a visual cue that says, "Pay attention to this."
- Italics: Perfect for adding nuance or highlighting a single word without the heavy-handedness of bold.
- Blockquotes: Save these for the good stuff—expert quotes, profound statements, or the central theme you want readers to remember.
These simple formatting tools are your best friends. They break up the visual monotony and guide the reader's focus, turning a passive read into an active experience.
Good formatting isn't just about making things pretty; it's about clear communication. Every heading, bullet point, and patch of white space helps you tell your story more effectively.
If you’re putting together in-depth guides, this structured approach is non-negotiable. The principles are nearly identical to how you’d write technical documentation, where clarity and scannability are everything.
Bridging Markdown with a Visual Experience
Writing directly in Markdown is fast and clean, but it can feel a bit abstract. Typing ## My Heading just isn't the same as seeing a big, bold heading appear on your screen. This is where a good WYSIWYG (What You See Is What You Get) editor makes a world of difference.
Tools like JekyllPad are designed to solve this exact problem by blending the raw power of Markdown with an intuitive visual interface. You can just click a button to bold text or create a heading, and the editor handles the Markdown syntax for you. It’s the best of both worlds: you get clean, portable code without having to memorize all the syntax.
There’s a reason platforms like WordPress, a pioneer in visual editing, now power an astonishing 43.2% of all websites. People crave tools that simplify the creation process. Having an intuitive editor empowers anyone to produce beautiful, well-structured content without a steep learning curve. If you're curious, you can find more data on the growth of user-friendly CMS platforms.
Embedding Media and Code Blocks Like a Pro

Let's be honest, a wall of text isn't going to cut it anymore. Great blog posts are multimedia experiences. They need images, videos, and code snippets to break up the content, explain tricky concepts, and just generally keep people from bouncing. When you format a blog post, getting these elements right is what separates the amateurs from the pros.
Dropping an image into Markdown is pretty simple: . The part that most people get lazy with is the alt text, but it’s a huge deal. It’s what screen readers use to describe the image, and it gives search engines context, which is a nice little SEO boost. Seriously, don't skip it.
But it's not just about the code. Performance matters. I've seen too many sites bogged down by massive, unoptimized images. Before I upload anything, I make it a habit to run my images through a compression tool. This keeps the page snappy without making the visuals look grainy.
Handling Images and Videos Seamlessly
To keep your images from looking wonky on a phone, they need to be responsive. A little bit of CSS magic, usually something like img { max-width: 100%; height: auto; }, is all it takes to make sure they scale properly and don't break the layout on smaller screens.
Embedding videos from platforms like YouTube is a bit different. You’ll usually grab an <iframe> snippet they provide and paste that HTML directly into your Markdown file. It feels a bit like cheating, but it works perfectly.
A well-placed image or video does more than just decorate a page—it can increase views by as much as 94%. Visuals make your content more digestible and memorable, turning a good post into a great one.
Of course, a visual editor can make all of this way less of a headache. Instead of messing with file paths and embed codes, tools like JekyllPad let you just drag and drop images or paste a video URL. It’s a massive time-saver. If you're shopping around, we put together a guide on some great free HTML WYSIWYG editors that are worth a look.
Displaying Code with Clarity
If you’re writing anything technical, getting your code blocks right is non-negotiable. Nothing looks sloppier than raw, unformatted code. In Markdown, you wrap your code in triple backticks () to create a clean, distinct block.
Want to take it to the next level? Add the language name right after the first set of backticks, likejavascript. This triggers syntax highlighting, coloring your code based on the language's rules and making it infinitely easier to read.
// Example of a highlighted JavaScript code block
function greet(name) {
console.log(Hello, ${name}!);
}
greet('World');
This tiny detail makes a world of difference for your readers. It’s a standard feature in most static site generators and an immediate sign that you know what you're doing.
Fine-Tuning Your Format for Search Engines and Accessibility
A well-formatted blog post isn't just about looking good—it's about sending the right signals to search engines and making your content accessible to everyone. The interesting thing is, a post that’s structured for accessibility is almost always one that’s primed for search engines. They're two sides of the same coin, both relying on a clear, logical content hierarchy.
Think about it from Google's perspective. It doesn't just read your words; it analyzes the structure you create with headings (H2s, H3s), link text, and image metadata. This framework is like a map, telling the search crawler what’s important and how everything fits together. A screen reader for a visually impaired user does the exact same thing, allowing them to skip between headings to navigate your article efficiently.
The Impact of Good Microcopy
This is where microcopy—those small but mighty bits of text—comes into play. I'm talking about alt text, image captions, and the anchor text for your links. It's so easy to gloss over these details, but they're absolutely crucial for both SEO and the overall user experience.
Here’s how to nail it:
- Meaningful Alt Text: Don't just write
alt="chart". Instead, be specific:alt="Bar chart showing a 45% increase in user engagement in Q3". This gives rich, useful context to screen readers and search engines alike. - Descriptive Anchor Text: Ditch generic phrases like "click here." Use descriptive text that sets clear expectations, like "learn more about our static site SEO strategies." This tells both humans and crawlers what they'll find on the other side of that click.
- Helpful Image Captions: While alt text is for non-visual users, captions add context or credit for everyone. They’re another small chance to reinforce your topic and add value.
These small details really do add up. They’re the professional polish that transforms a good article into a great one.
Think of your formatting as a universal language. It communicates your content's structure and importance to humans, screen readers, and search engine bots simultaneously. Get it right for one, and you’ll get it right for all.
The demand for well-structured digital content is exploding. In fact, the global content management software market is expected to hit USD 57.29 billion by 2030. This incredible growth shows why mastering accessible and SEO-friendly formatting isn't just a nice-to-have anymore; it's essential for cutting through the noise.
Ultimately, you want your blog post to not only help your readers but also climb the search rankings. That means understanding how to write SEO friendly blog posts that rank. When you build your posts on a foundation of clean, semantic formatting, you’re creating an asset that serves every visitor while giving you a lasting edge in search.
A Practical Formatting Workflow from Start to Finish
Theory is great, but let's walk through how this all comes together in a repeatable process. Having a solid workflow is what separates a frustrating technical chore from a smooth creative session. It lets you stop thinking about the "how" and just focus on writing.
This is the exact process I use to get from a blank file to a polished, ready-to-publish article.
It all starts with a new Markdown file. Instead of hand-coding the front matter every time and inevitably making a typo, I use a visual editor to handle the heavy lifting. A tool like JekyllPad gives you a simple form. Just plug in your title, date, tags, and any other custom fields, and it generates the perfectly formatted YAML or TOML for you. No more chasing down a missing colon.
Once that metadata is locked in, I jump right into the main editor and start writing. This is where the article takes shape—building out the structure with clear headings and keeping my paragraphs short and scannable.
From First Draft to Final Polish
As I write, I format as I go. If a point needs extra punch, I'll highlight the text and make it bold. If I need a list, a quick click on the bullet point button does the trick. This hybrid approach feels as intuitive as a standard word processor but keeps the clean, powerful foundation of Markdown underneath.
Adding media becomes just as simple. I can literally drag an image from my desktop straight into the editor or paste a YouTube link to embed a video. The editor takes care of generating the correct Markdown or HTML, and—critically—it prompts me to fill in the alt text right then and there. Same deal for code snippets; I just select the language, and it handles the syntax highlighting.
A great workflow isn’t about fancy tools; it’s about creating a direct path from your idea to a perfectly formatted post. By automating the technical details, you free up mental energy for creative work.
The final, and arguably most important, part of this modern workflow is version control. Let's be honest, git commands can be a massive pain point for writers. This is where an integrated system becomes a lifesaver.
Take a look at how JekyllPad connects directly to a GitHub repository. Each time you save your work, it automatically creates a commit.
This tight integration means every change you make is tracked and saved without ever opening the command line. It’s a clean, effortless version history baked right into your writing process. That seamless link between your editor and your repository is what makes this kind of workflow so efficient and, most importantly, completely error-free.
Got Questions? Let's Talk Blog Post Formatting
Even when you have a good system down, you're bound to run into a few tricky questions when formatting a blog post for a static site. I've been there. Wrestling with different syntaxes and figuring out the "right" way to do things is just part of the game, but getting some straight answers can save you a ton of headaches.
Let’s dig into some of the most common snags I see writers hit when they're working with Markdown and static site generators. These are the little details that can really make or break the final look and feel of your post.
YAML vs. TOML: What's the Deal with Front Matter?
So, you've got YAML and TOML. They both do the same job—handling your post's metadata—but they speak slightly different languages.
YAML is all about indentation and colons. It's the default for generators like Jekyll and can look really clean, especially when you have nested data.
TOML, on the other hand, is the go-to for Hugo. It uses a more explicit key = "value" format that a lot of folks, myself included, find a bit more straightforward and less likely to break if you mess up a single space.
Honestly, most modern generators can work with either one. The choice usually boils down to what your project already uses or simply what you prefer looking at.
How Do I Stop My Images From Breaking the Layout?
This one comes up all the time. You drop an image in with standard Markdown—``—and it looks great on your desktop, but it completely wrecks the page on a mobile device.
The thing is, Markdown itself doesn't do responsiveness. That's a job for your site's CSS. The simplest, most effective fix is to add this little rule to your stylesheet: img { max-width: 100%; height: auto; }.
This tells the browser to never let an image grow wider than its container, making it scale down beautifully on smaller screens. Some more sophisticated themes might even have special shortcodes that create advanced <picture> elements for different resolutions, which is great for performance.
Just remember: Markdown creates the raw HTML. Your site's theme and CSS are in charge of styling. The magic happens when you get them to play nicely together.
Can I Just Drop Some HTML into My Markdown File?
Yep, you absolutely can. Most Markdown parsers are built to handle raw HTML, which is a lifesaver when you need to do something Markdown can't, like adding a special class to a paragraph or embedding a YouTube video.
But a word of caution: don't go overboard. Relying too much on raw HTML can make your content a pain to manage down the road and less portable if you ever decide to switch platforms. My rule of thumb is to stick with pure Markdown as much as possible and only pull out the HTML when there's truly no other way to get the job done.
Tired of wrestling with syntax and just want to write? JekyllPad gives you a clean, visual editor that takes care of the technical stuff—from front matter to media—and syncs it all with your GitHub repo. Try JekyllPad for free and feel the difference.