
When you decide to build a CMS from the ground up, you’re creating a Git-based system that’s designed to work perfectly with your static site. This gives you absolute control over how content gets made and published. It’s a clean break from the old-school, database-driven monoliths, offering superior performance, tighter security, and a much smoother workflow for everyone involved. You build exactly what you need, nothing more.
Why Build a Custom CMS for Your Static Site
Let’s be honest, traditional content management systems can feel clunky and overkill, especially when you’re working with the lean, fast world of static site generators. Developers get stuck dealing with slow databases, constant security patching, and the fear of vendor lock-in. At the same time, content teams often struggle with confusing interfaces that get in the way of their work. These aren't just small complaints; they create real friction that slows everything down.
This is exactly where a custom-built CMS changes the game. Instead of trying to adapt a generic tool, you’re crafting something that plugs directly into your Git-based process.
Taking Back Control
When you build your own CMS, every single feature is there for a reason. You’re no longer bound by the decisions of a third-party vendor. You call the shots on your content model, the editor experience, and the entire publishing pipeline. That means no more wrestling with buggy plugins or waiting on a critical update you have no control over.
- Workflows That Fit Your Team: You can design the editing interface to match how your team actually works. Do they love a visual WYSIWYG editor? Great. Prefer the clean simplicity of Markdown? You can build that, too.
- Zero Feature Bloat: By including only what you need, you end up with a CMS that's lightweight, fast, and incredibly easy to maintain.
- A Future-Proof Foundation: It's your codebase. As your project grows and requirements change, you can adapt and extend the CMS without hitting a wall.
Enhancing Performance and Security
Opting for a custom, client-side CMS that works directly with Git brings some serious benefits. By cutting out the database and server-side processing that traditional systems rely on for content management, you instantly close off common security holes. All the action happens between the user's browser and your Git provider, like GitHub.
The concept is beautifully simple: Your content lives in your Git repository—versioned, secure, and transparent. The CMS is just a friendly interface for reading from and writing to that repo. This makes the whole setup inherently more resilient.
This approach is also a huge win for performance. The CMS dashboard itself loads instantly because there are no database queries to run. And because the end result is a static site, your visitors get lightning-fast page loads, which is crucial for both user experience and SEO. Building your own system, inspired by the ideas behind tools like JekyllPad, gives everyone—from hardcore developers to non-technical writers—a straightforward and secure way to contribute.
Designing Your CMS Architecture and Content Model
Before you write a single line of code, the most important part of building a custom CMS is laying the groundwork. This really comes down to two big decisions: picking the right architecture and defining a clear content model. Get these right, and you'll set yourself up for a secure, high-performance system that your team will actually enjoy using.
The first major choice is whether to go with a client-side (browser-based) or server-side (API-driven) architecture. Each has its pros and cons, but for a system built around a static site generator, one path is often much simpler and more secure. The demand for these kinds of solutions is exploding; the global CMS market was valued at around USD 34.94 billion in 2025 and is expected to hit USD 77.77 billion by 2033.
Client-Side vs. Server-Side: What’s The Right Fit?
So, what’s the difference? A server-side or API-driven CMS is what most people think of as a "headless CMS." It uses a central database to store content. Your editing interface talks to a server via an API, and your static site generator pulls content from that same API when it builds the site. It’s a solid, well-established model.
A client-side CMS, on the other hand, works completely differently. An editor like JekyllPad, for example, runs entirely in the user’s browser. It authenticates directly with a Git provider like GitHub to read and write content files. There’s no database, no intermediary server—nothing to manage. This dramatically simplifies the whole setup. If you're building a custom CMS from scratch, understanding the fundamentals of modern web application architecture will help you make a more informed choice.
The diagram below breaks down the major wins of a direct, Git-based approach.
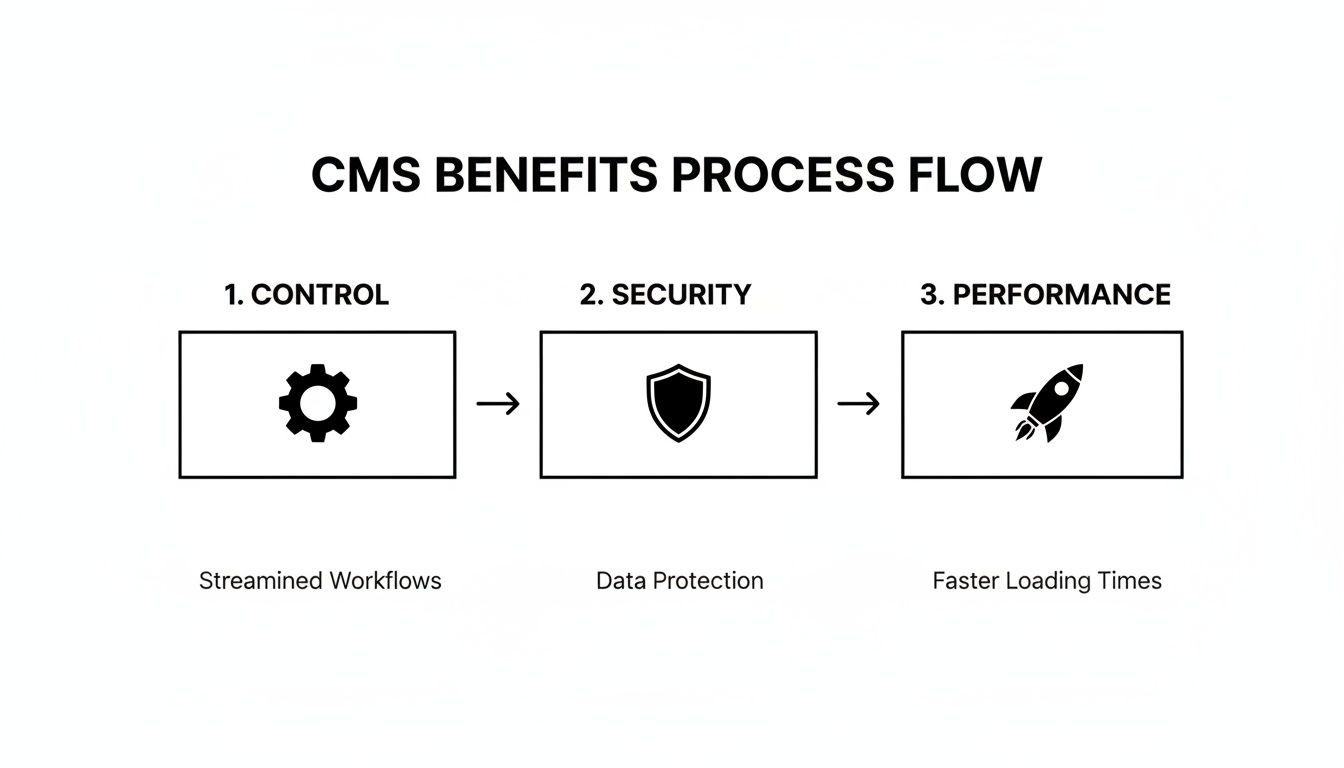
This Git-centric flow gives you total control, slashes security risks by removing an entire server layer, and boosts performance with a leaner stack.
By eliminating the server, you eliminate a whole class of potential attack vectors. Your content remains securely version-controlled in your repository, with access managed by your Git provider's robust permission system.
This direct-to-Git philosophy is a core part of what makes many headless systems so effective. We dig into this more in our guide on what is a headless CMS.
Choosing the right architecture is a critical first step. The table below breaks down the key differences to help you decide which path makes the most sense for your project.
Client-Side vs Server-Side CMS Architecture
| Feature | Client-Side (e.g., JekyllPad) | Server-Side (API-Driven) |
|---|---|---|
| Infrastructure | No server or database required; runs in the browser. | Requires a managed server and database for content. |
| Content Source | Reads/writes directly to files (e.g., Markdown) in a Git repo. | Content is stored in a database and accessed via an API. |
| Security | Inherits security from the Git provider (GitHub, GitLab). | Security depends on the server, database, and API layers. |
| Simplicity | Significantly simpler to build, deploy, and maintain. | More complex stack with multiple moving parts. |
| Best For | Static sites, blogs, documentation, small to medium projects. | Large-scale projects, omnichannel content, complex data. |
| Cost | Typically lower, as there's no backend hosting to pay for. | Higher, due to server, database, and maintenance costs. |
Ultimately, for many static site projects, the client-side model is the clear winner for its simplicity and built-in security.
Defining a Flexible Content Model
Once your architecture is sorted, it's time to map out your content model. Think of this as the blueprint for every piece of content on your website. For static sites, the beauty is in its simplicity—it’s usually just a combination of Markdown and "front matter."
Front matter is a small block of metadata, written in a format like YAML, that lives at the top of a Markdown file. It’s where you store structured data: the post title, author, publication date, tags, you name it. Everything below it is the body content, written in plain Markdown.
Let’s say you’re building a blog. A content model for a blog post might look like this in the file:
title: "My Awesome New Blog Post" author: "Jane Doe" date: "2025-10-26" tags: - "Tech" - "Development" - "CMS" featured_image: "/images/blog-post-banner.jpg"
This structure is incredibly powerful. Your custom CMS can be designed to read this schema and generate a user-friendly form with fields for "Title," "Author," "Date," and so on. When an editor fills out the form, your CMS simply saves it back as a perfectly formatted Markdown file with the correct front matter.
This approach gives you some fantastic benefits:
- Human-Readable: Anyone, developer or not, can open the file and understand its structure.
- Version Controlled: Since content is just text in a file, every single change is tracked by Git. You get a full, revertible history for free.
- Highly Flexible: Need to add a new field, like "editor"? Just add it to the schema. You can create different models for blog posts, product pages, or case studies, each with its own unique set of fields.
Putting in the effort to get your architecture and content model right from the start is the single most impactful thing you can do. It ensures your CMS will be scalable, secure, and a tool your team can rely on for years to come.
Building an Intuitive Editor Experience
The heart of any content management system is its editor. This is where your team lives—the space where they'll spend countless hours crafting content. If that experience is clunky or confusing, it grinds everything to a halt. When you’re building a custom CMS, the editor isn't just another feature; for your non-technical users, it is the entire product.
Most content teams are a mixed bag. You've got developers who live and breathe raw Markdown, loving its speed and directness. Then you have writers and marketers who are far more comfortable in a visual, WYSIWYG (What You See Is What You Get) environment. A truly great CMS doesn't force one group to adopt the other's workflow. It supports both, elegantly.
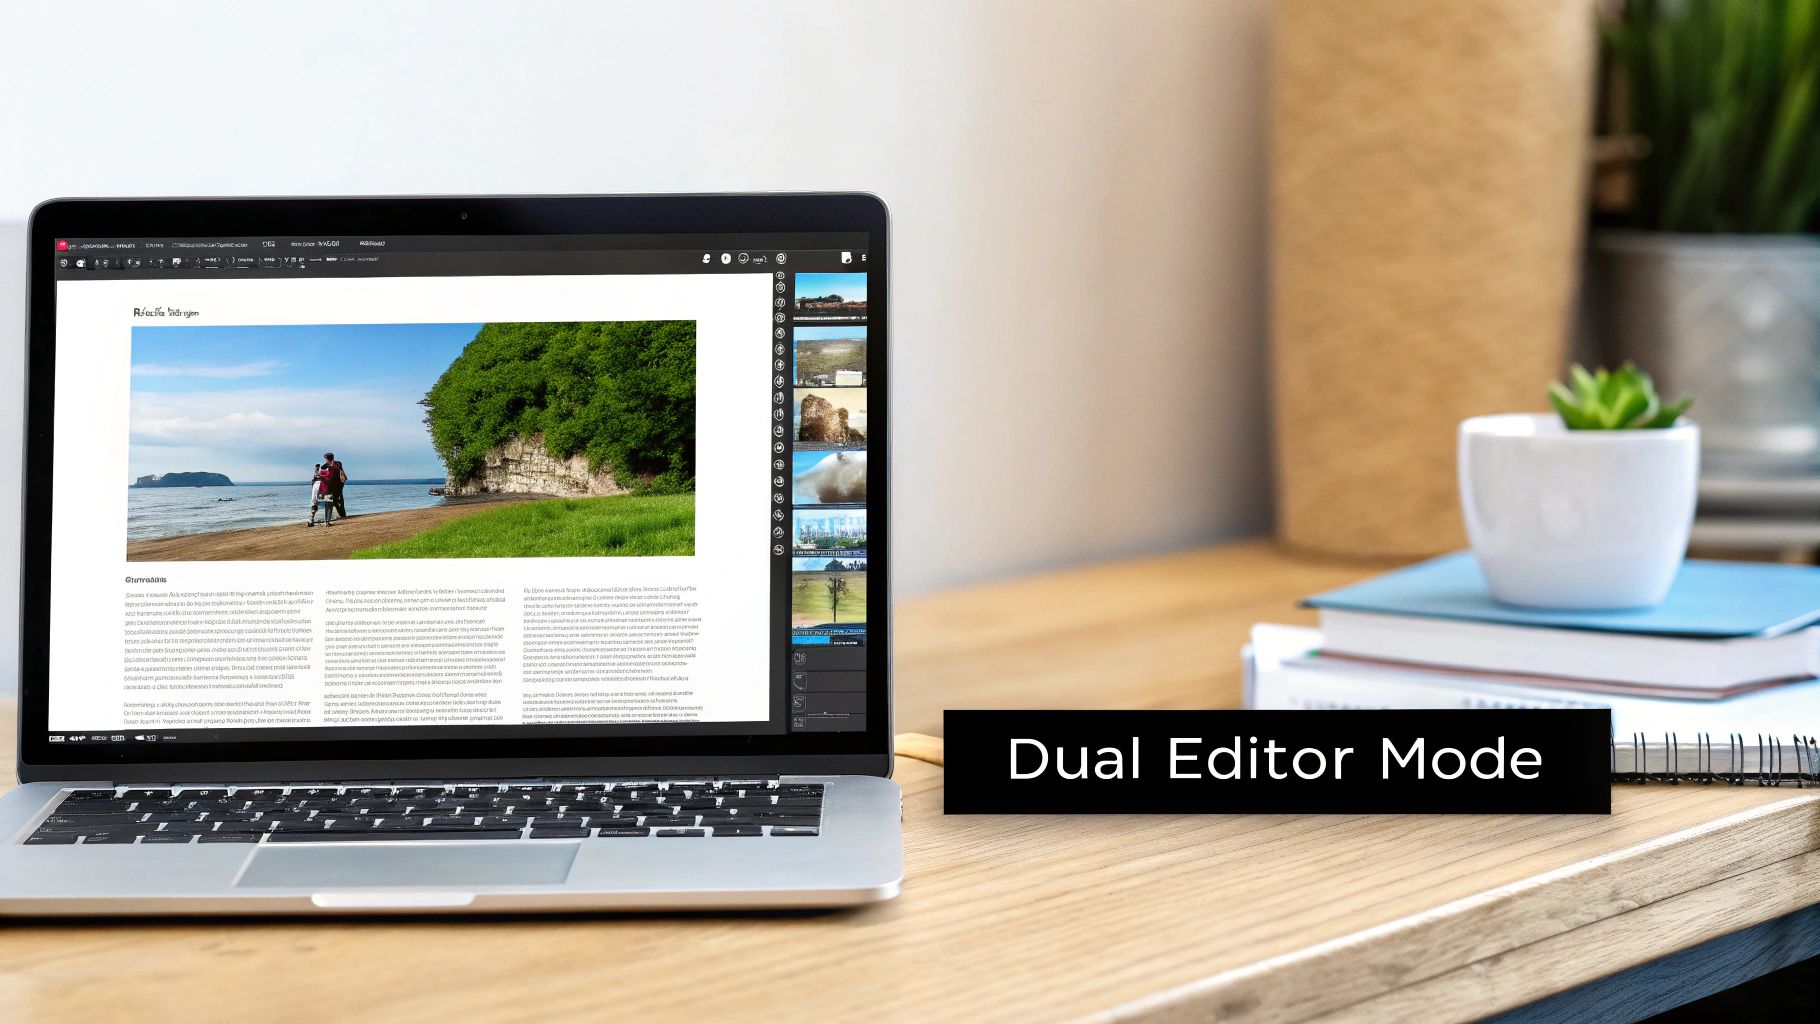
Crafting a Dual-Mode Editor
The best way to please everyone is with a dual-mode editor. It's a simple concept: give users a toggle to switch between a clean visual interface and a raw Markdown view. The magic, and the real technical challenge, is making sure both views stay perfectly in sync.
To pull this off, you’ll need a couple of specialized libraries working in tandem:
- The WYSIWYG side: I'm a big fan of TipTap. It’s built on the rock-solid Prosemirror framework and gives you a modern, extensible, and clean visual editing experience right out of the box.
- The Markdown side: For the plain text view, it's hard to beat CodeMirror. It's a powerful text editor that provides all the things developers expect, like syntax highlighting and line numbers.
The secret sauce is a shared document model. When a user makes a change in the WYSIWYG view, TipTap updates its internal content structure. Your application then translates that structure into Markdown and feeds it to the CodeMirror instance. When they type in the Markdown view, the process reverses. This bi-directional sync is what makes the whole thing feel seamless. If you want to dive deeper into the concept, we have a whole guide explaining what a WYSIWYG editor is.
Dynamically Generating Front-Matter Fields
Besides the body of the content, managing front matter—all that metadata at the top of a file—is a huge part of the static site workflow. You could hardcode a form for these fields, but that’s a brittle solution that will break the first time you need to add a new field.
A much better approach is to generate the UI dynamically from a schema. You can define the fields for each content type (like a "blog post" or a "case study") in a simple JSON or YAML file. For instance, a blog post schema might specify fields for title, author, date, and tags.
Your CMS then just needs to read that schema and render the right form inputs: a text box for the title, a date picker, a multi-select for tags, and so on. This makes the system incredibly scalable. Need to add a "subtitle" field? Just update the schema file. The UI will automatically adapt without you having to write a single line of new code.
Essential Features for a Complete Experience
A dual-mode editor and dynamic front matter are a fantastic foundation, but a few more features are needed to create a CMS that people will actually love using.
The goal is to remove as much friction as possible from the content creation process. Every feature should be aimed at helping the user stay focused on their writing, not on the underlying technology.
Here are a few non-negotiables:
- Live Preview: Nobody wants to trigger a full site build just to see how their changes look. A live preview pane that updates in real-time is a massive productivity booster.
- Simple Media Management: Getting images into a post shouldn't be a chore. A simple drag-and-drop interface that uploads the file and inserts the correct Markdown or HTML is a must.
- Version History and Diffs: Since you're using Git under the hood, you already have a perfect history of every single change. Exposing this with a user-friendly "diff" view empowers writers to review and revert changes without fear.
The editor experience will make or break your custom CMS. The bar is high; platforms like WordPress power an estimated 332 million websites globally as of 2025, which is 43.6% of the entire web. Users are accustomed to a certain level of polish. By focusing on a clean, flexible, and powerful editor tailored to a static workflow, you can build something that not only meets those expectations but feels even better for its intended purpose.
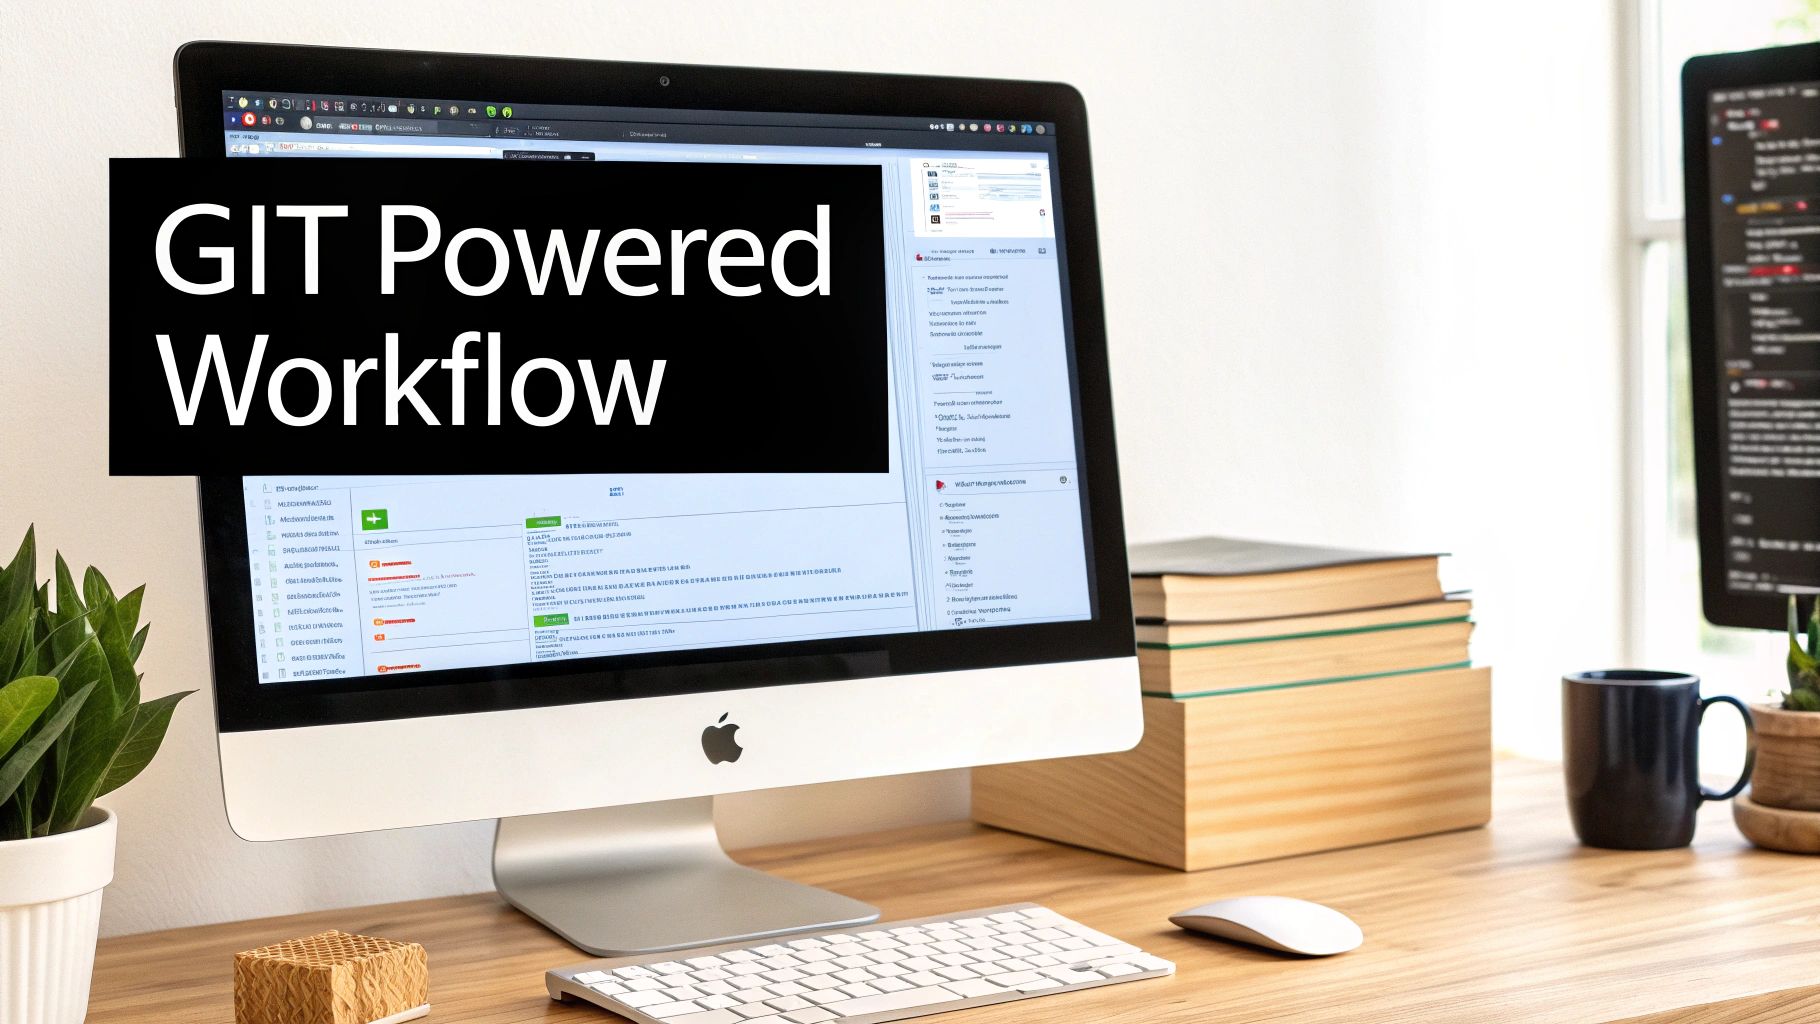
Integrating with Git for a Seamless Workflow
The real magic behind a custom CMS for a static site generator isn't just a pretty editor—it's how that editor talks to your source code. A Git-based workflow is the engine that makes it all run, giving you versioning, collaboration, and even deployment triggers without any extra effort. This approach transforms your CMS from a simple editing tool into a content hub that’s perfectly in sync with your development process.
By hooking directly into a provider like GitHub, you can hide all the complexities of Git from your content team. They can create, edit, and save their work without ever seeing a command line. For them, it’s just a "Save" button. Behind the scenes, your CMS is busy creating clean, structured commits.
This was a foundational idea when we built JekyllPad. We wanted to empower users, not bury them in technical details. Every change gets logged, every version is saved, and you get a clear audit trail of who changed what, and when.
Connecting Your CMS to GitHub
First things first, you need to handle authentication. You have to give your application a secure way to act on a user's behalf. The gold standard for this is OAuth 2.0, which lets a user grant your CMS limited access to their GitHub account without you ever touching their password.
The flow is pretty straightforward:
- User Authorization: Your CMS sends the user over to GitHub to approve the connection. GitHub will show them exactly what permissions your app wants. Be a good citizen here and only request the scopes you absolutely need—usually just read/write access to repository content.
- Authorization Code Exchange: Once they click "Approve," GitHub sends them back to your app with a temporary authorization code.
- Access Token Retrieval: Your app’s backend then swaps this code for an access token. This token is the key to the kingdom, so it needs to be stored securely.
Security is non-negotiable here. Never, ever store an access token in client-side local storage. It's a prime target for XSS attacks. The right way to do this is to handle the token exchange and storage on a secure backend or within a serverless function.
With a valid token in hand, you can finally start using the GitHub API to manage the repository’s content for the user.
Reading and Writing Files via the API
Now for the fun part. With authentication sorted, your CMS can actually read and write content. The GitHub API has endpoints that let you treat your repository like a file-based database. For a deeper dive into the mechanics, you can read our guide on how to sync your CMS with GitHub.
Fetching a file from a repository looks something like this:
- You'll make a GET request to the
/repos/{owner}/{repo}/contents/{path}endpoint. - The API doesn't just hand you plain text. It returns the file content as a Base64-encoded string. Your application will need to decode this back into UTF-8.
- Once decoded, you can load the full content—front matter and Markdown included—into your editor interface for the user.
When the user hits "Save," you essentially run this process in reverse, but with a few extra details to create a proper commit.
Committing Changes Back to the Repository
Saving a file is more than just an update; it's an opportunity to create a meaningful entry in the project's history. This is where you really get to see the power of Git shine.
To commit a change, your CMS needs to perform these steps:
- Encode the New Content: Grab the updated text from the editor and encode it back into a Base64 string.
- Get the Latest File SHA: To update an existing file, you must provide the SHA hash of its current version. This is a safety mechanism that prevents you from accidentally overwriting someone else's recent changes. You get this SHA when you first fetch the file.
- Construct the Commit: You’ll make a PUT request to the same contents endpoint, but this time you’ll include a JSON payload containing the new encoded content, a commit message, and the file's SHA.
A good commit message makes a world of difference. Your CMS should generate these automatically and make them descriptive. Think "Update post: 'My Awesome New Blog Post'" or "Create new page: '/about-us'." This turns the Git history into a human-readable log of all content activity, which is invaluable for collaboration and auditing.
Securing Your CMS and Getting It Live
Just because your CMS is client-side doesn't mean you can skip thinking about security. You're still dealing with API keys and user credentials, so a solid security and deployment plan is non-negotiable. Getting this right is the final, crucial step before your custom CMS is ready for action.

The name of the game is protecting credentials and blocking unauthorized access. For a client-side app, that means making absolutely sure secrets like API keys never, ever get exposed in the browser's source code.
Nail Down Your Application Security
Your first job is to handle authentication tokens properly. I’ve seen projects store an OAuth access token in localStorage or sessionStorage, and it's a huge mistake—it opens the door wide open to cross-site scripting (XSS) attacks.
A much safer approach is using a secure, HTTP-only cookie. This is typically managed by a lightweight backend-for-frontend (BFF) or even a simple serverless function. This little proxy server handles the OAuth dance with GitHub and then hands a secure session cookie back to the browser. From then on, all API calls from your CMS go through your proxy, which safely adds the real access token before forwarding the request to GitHub. The token itself stays completely hidden from the client.
Beyond just tokens, here are a few other security practices I always implement:
- Sanitize Editor Input: If you allow any raw HTML in your editor, you have to sanitize it. Use a library like DOMPurify to strip out malicious scripts before you render a preview or save the content.
- Use Scoped Permissions: When you set up your GitHub OAuth App, only ask for the permissions you absolutely need. For most of these projects, the
reposcope is enough to read and write content. Don't ask for the world. - Implement a Content Security Policy (CSP): A strict CSP tells the browser which resources (like scripts and styles) are allowed to load. It's an incredibly effective layer of defense against XSS because it can block unauthorized inline scripts from ever running.
And of course, it's fundamental to configure an SSL certificate to encrypt all communication. This protects the data moving between the user's browser, your proxy, and the GitHub API.
A Practical Plan for Testing
Before you let anyone use your CMS, you need a testing plan that proves it's reliable. You should be testing everything from the small helper functions to the full user workflow of logging in and committing a change.
A good test suite isn't just about catching bugs; it’s about giving you the confidence to make changes and add features later without breaking existing functionality. It's an investment in the long-term health of your project.
I usually start with these three types of tests:
- Unit Tests: These check the small, isolated pieces of your app. Think of functions that parse front matter, convert Markdown to HTML, or format a commit message. They're quick and easy to write.
- Integration Tests: Here, you verify that different parts of your application play nicely together. A great example is testing that typing in the WYSIWYG editor correctly updates the state that feeds into the Markdown view.
- End-to-End (E2E) Tests: This is where the magic happens. Use a tool like Cypress or Playwright to automate a real user's entire journey: logging in with GitHub, opening a file, editing it, saving the changes, and then checking that a new commit actually appeared in the repo.
Automating Your Deployment and Site Builds
The final piece of the puzzle is getting everything deployed. This is a two-part process: deploying the CMS itself, and then setting up your static site to rebuild automatically when content changes.
Since your CMS is a client-side app, you can host it on any modern static host like Netlify, Vercel, or GitHub Pages. Just connect the provider to the repository where your CMS code lives. This creates a continuous deployment pipeline, so any new changes you push to your main branch go live automatically.
The real power move is connecting your content repository to that same hosting service. These platforms can watch for new commits—like the ones your CMS will be making—and instantly trigger a new build of your static site. This closes the loop beautifully. A writer hits "Save," a commit is made to GitHub, and a few minutes later, the updated website is live. It’s a completely automated flow that makes this whole custom CMS endeavor so worthwhile.
Common Questions About Building a CMS
Diving into building your own CMS for a static site generator can feel like a huge project. Even with a good roadmap, you're bound to have some nagging questions. Let's tackle some of the most common ones I hear so you can push forward without any roadblocks.
How Much Technical Skill Do I Really Need?
Let's be direct: building a custom CMS is a real development project. You'll need a solid handle on modern frontend development. This means being comfortable with JavaScript—ideally a framework like React or Vue—and knowing your way around HTML and CSS to build the user interface.
The trickiest part for many developers is wrangling third-party APIs. For a Git-based CMS, that means getting intimate with the GitHub API. You'll be dealing with asynchronous operations, navigating OAuth authentication, and crafting precise API requests. While the idea is simple, the execution is a meaty project best tackled by an intermediate or advanced developer.
Will This Work with My Favorite Static Site Generator?
Yes, absolutely. That’s the beauty of this whole approach. A custom, Git-based CMS doesn't care what static site generator (SSG) you're using.
Whether your site is built with Jekyll, Hugo, Astro, Eleventy, or Gatsby, the principle is the same. As long as your SSG pulls its content from Markdown files with front matter inside a Git repository, this CMS will work. Its only job is to read and write files to the repo. Your site's build process remains completely separate and untouched.
What Are the Big Security Traps to Avoid?
When you build a client-side CMS, you're trading server and database worries for browser-based security concerns. The risks are different, but you can't ignore them.
Here's what you need to keep on your radar:
- Leaking Credentials: The number one risk is exposing API keys or OAuth tokens in your client-side code. They should never, ever be stored in
localStorage. A much safer route is to manage them through a secure backend-for-frontend (BFF) or a serverless function that uses HTTP-only cookies. - Cross-Site Scripting (XSS): If your editor lets users add raw HTML or previews rendered content, you have to sanitize that input. Otherwise, you're opening the door for malicious scripts to run in the browser.
- Asking for Too Many Permissions: When you set up your GitHub App, be strict with OAuth scopes. Only ask for the permissions you absolutely need. For most content management tasks, simple repository access is plenty—you don’t need to ask for broad, account-level control.
Building a custom CMS doesn't mean you have to invent every little piece yourself. The real question is whether you want to spend serious time on development or adopt a ready-made solution that gets you the same workflow.
Should I Build from Scratch or Just Use Something That Already Exists?
This is the classic "build versus buy" debate, and there’s no single right answer. It all comes down to your specific goals, your budget (both time and money), and how quickly you need to get going.
Building it yourself gives you total control and is an amazing learning experience. You get to fine-tune every feature to perfectly match your workflow. But don't underestimate the commitment—it's a time-consuming project that you'll have to maintain for the long haul.
For most people and teams, starting with a managed or open-source tool is the more practical path. You get a battle-tested foundation, saving hundreds of development hours and letting you get back to what matters: creating content.
If you want all the perks of a Git-based workflow without the headache of building it yourself, JekyllPad was made for you. It combines an intuitive visual editor with seamless GitHub integration and a secure architecture, getting you up and running in minutes. You can learn more about JekyllPad on its official website.