
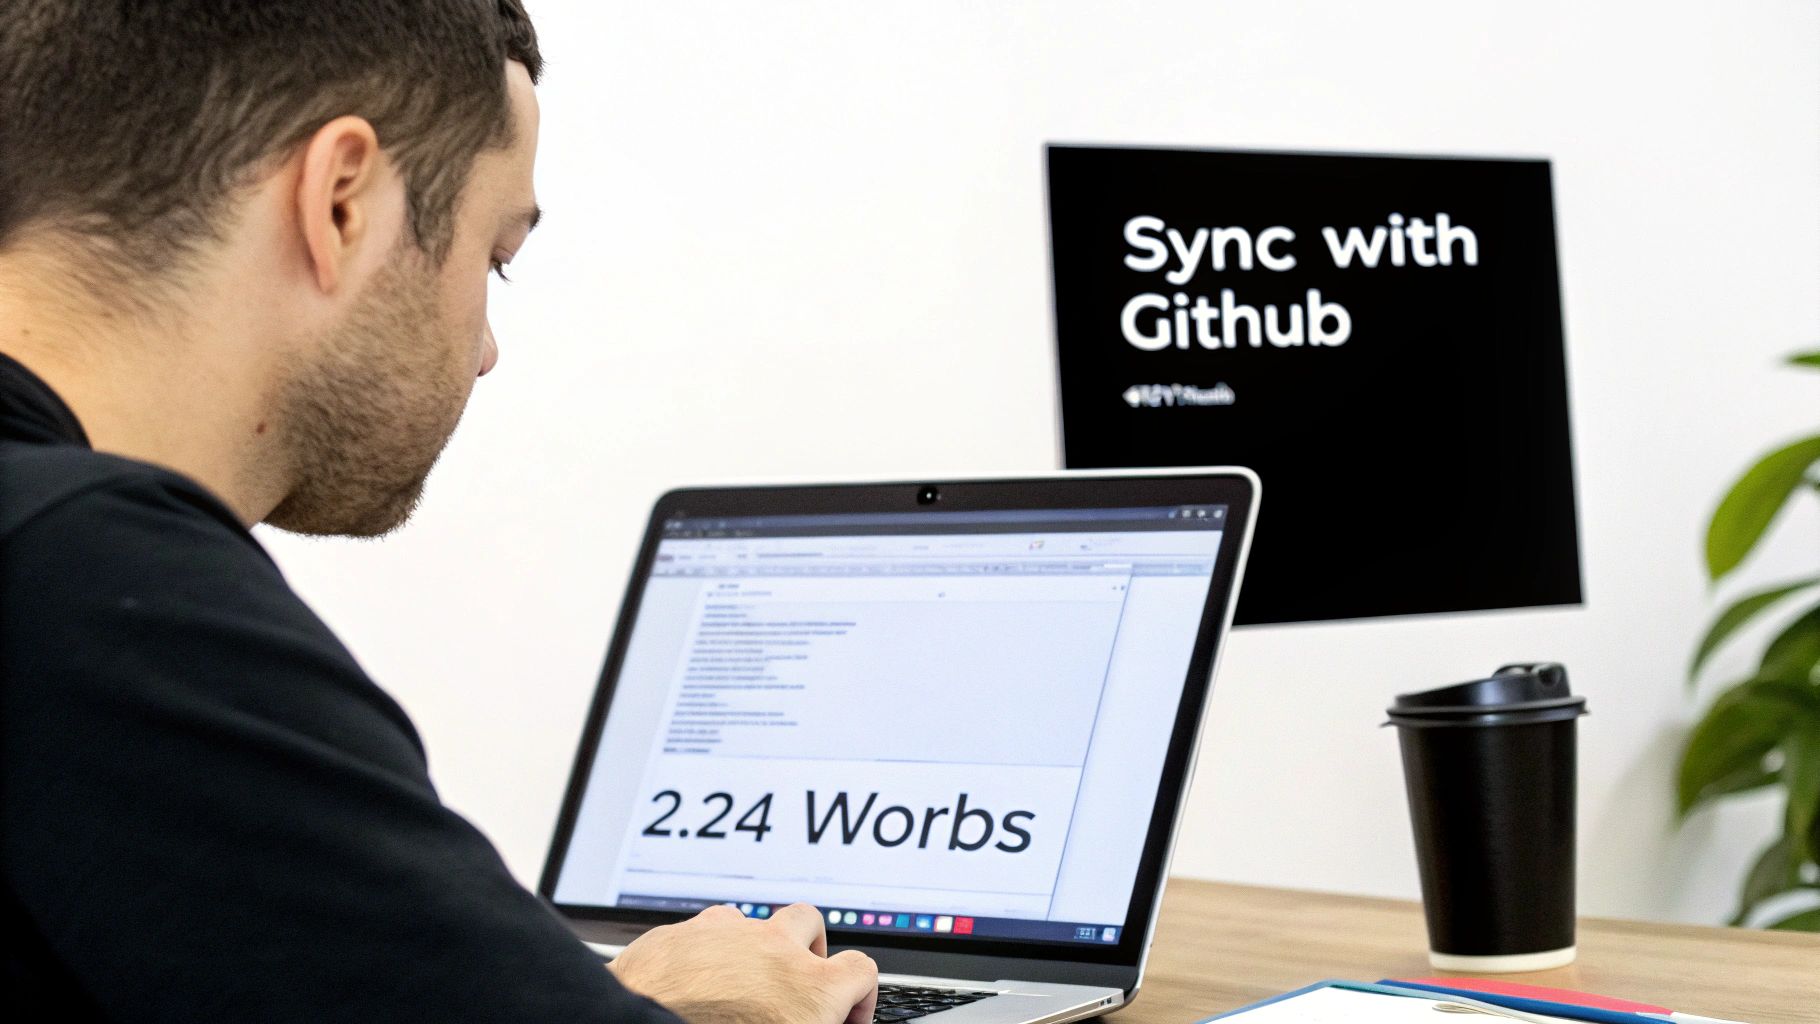
When you sync with GitHub, you're essentially turning your static site's code repository into a powerful, living content backend. Every single update, whether it's fixing a minor typo or publishing a brand-new article, becomes a trackable commit. This creates a robust, version-controlled workflow that completely bypasses the need for a traditional database.
Why Syncing With GitHub Is a Game-Changer for Your Static Site
If you’ve ever managed a site built with Jekyll, Hugo, or Astro, you probably started out working on your local machine. That's fine for a solo developer who lives in the command line, but the cracks in that approach start to show pretty quickly. The whole content creation process becomes siloed, making teamwork a headache and shutting out non-technical contributors who aren't about to start learning Git commands.
This is exactly why syncing your content with GitHub is such a pivotal move. When your GitHub repository becomes the single source of truth, you unlock a whole new world of features that go way beyond just storing files. Suddenly, every change is recorded, every version is saved, and collaboration becomes clear and organized.
The Power of a Git-Based Workflow
Embracing a Git-based workflow means that every tweak and revision is a fully accountable action. Instead of just overwriting old files and losing all that precious context, you build a permanent record of who changed what, where, and when. This is an absolute lifesaver for auditing content, rolling back mistakes, and just generally understanding how your site has evolved.
This system brings some serious advantages to the table:
- A Complete Version History: Made a mistake? No problem. You can effortlessly revert any page or post to a previous version. The fear of losing work or making an irreversible error is completely gone.
- Structured Collaboration: Team members can work on their own content updates in separate branches. This opens the door for proper drafts, reviews, and approvals using pull requests before a single word goes live, preventing those dreaded "oops, I didn't mean to publish that" moments.
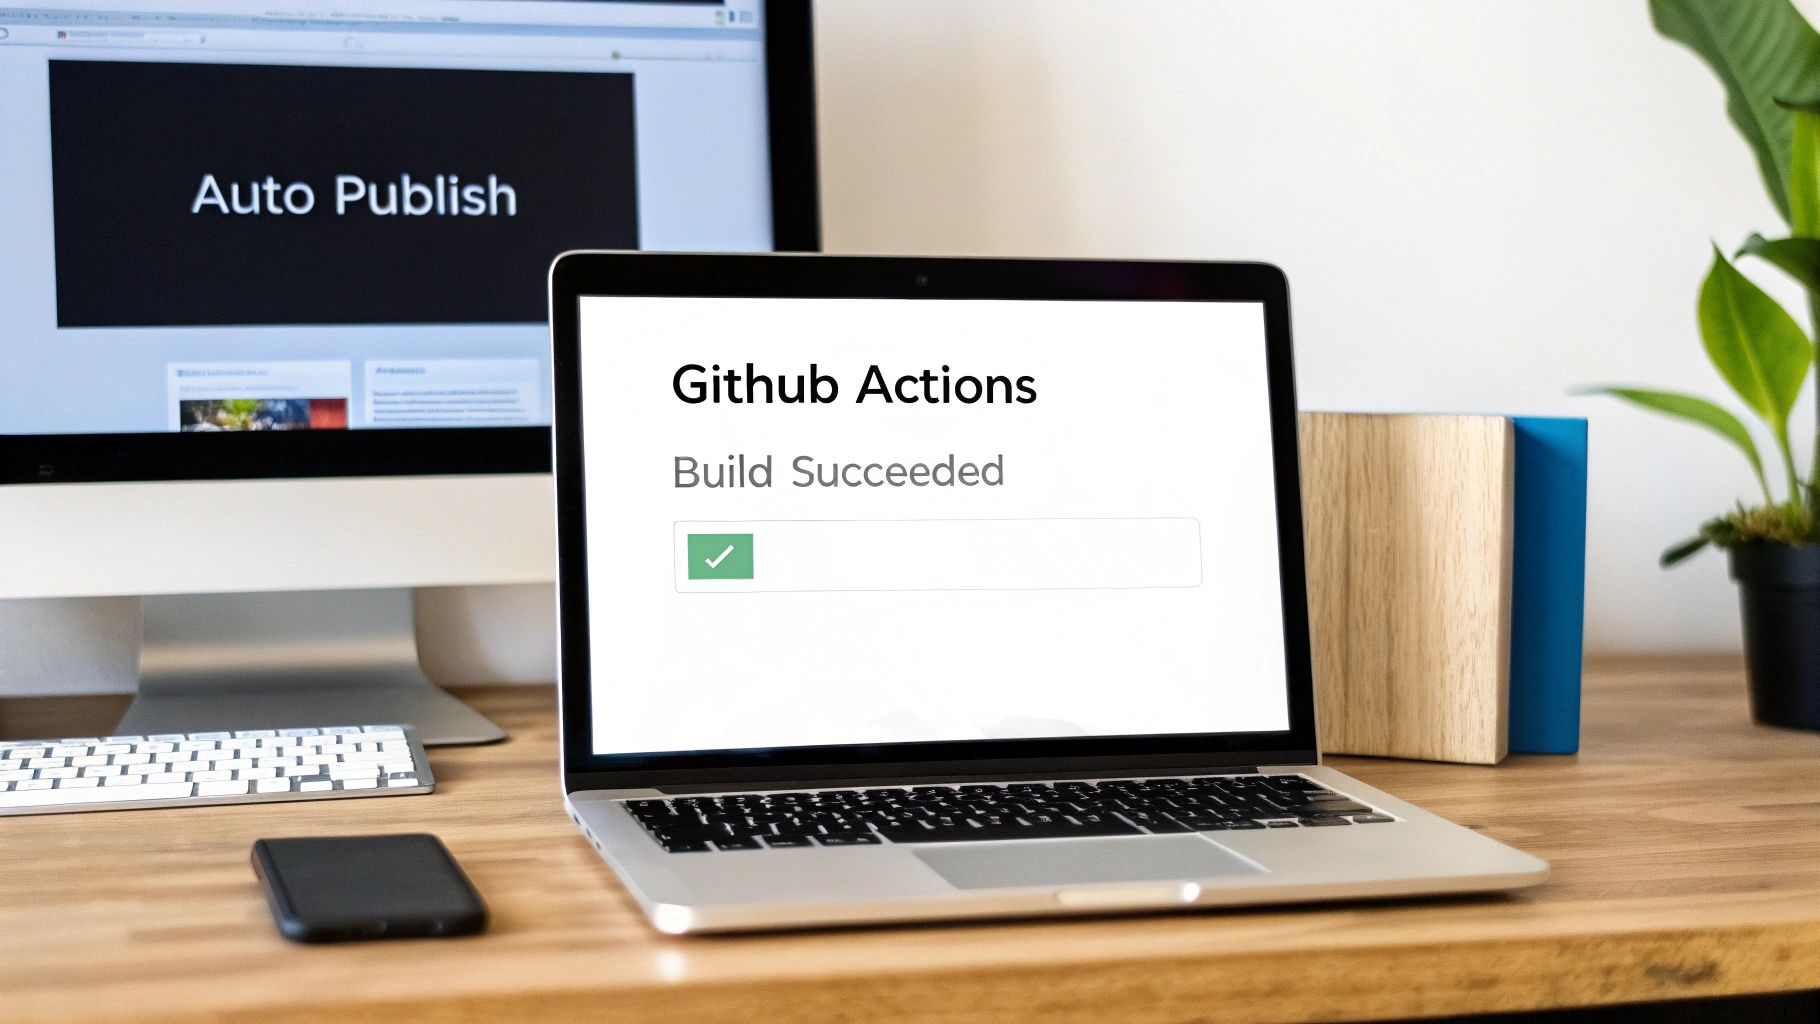
- Automated Deployments: Once you sync with GitHub, you can set up automated builds and deployments with GitHub Actions. A simple content commit can kick off a process that automatically rebuilds your site and pushes it live to GitHub Pages or any other host.
By putting GitHub at the core of your content strategy, you’re not just backing up files. You're adopting a professional-grade publishing pipeline that delivers security, history, and automation right out of the box.
Closing the Technical Gap for Good
Let's be honest: the command line has always been the biggest hurdle. For marketers, editors, and other content creators, learning commands like git commit, git push, and git pull is a non-starter. This is the exact problem that visual Git tools like JekyllPad were built to fix. They give you a clean, intuitive interface that handles all the complex Git operations for you in the background.
This approach makes a truly modern content workflow available to everyone. Your team gets to focus on what they do best—creating amazing content in an editor they understand—while the system automatically syncs with GitHub. Every save becomes a commit, making this powerful workflow accessible to the entire team, regardless of their technical comfort level.
Connecting Your Visual CMS to a GitHub Repository
The first thing you'll need to do is get your content editor and your code repository talking to each other. Tools like JekyllPad make this simple by using a process called OAuth. Think of it as a secure handshake; you're letting JekyllPad access your GitHub account without ever having to share your password. You're always in control.
When you kick off the connection, GitHub will pop up an authorization screen. Pay close attention here. This is where you see exactly what permissions the app is asking for. A visual CMS typically just needs to read your repositories and write commits. That's it. This lets the tool see your content files and save your edits back to the repo.
What About Permissions and Access?
A big question I often hear is, "Will this expose all my private repositories?" The short answer is no. These tools are built to respect GitHub's permission model. You’ll only be able to see and connect to repositories your GitHub account already has access to, whether they're personal projects or part of an organization you belong to.
Here’s a quick breakdown of how it works:
- Personal Repositories: You'll see a simple list of your repos. Just pick the one you want.
- Organization Repositories: If you're part of a GitHub organization, you might have an extra step. You'll likely need to grant the application access to see those specific repos. It’s a one-time approval that keeps everything in line with your organization's security policies.
Once you've authorized the connection, you'll see a screen that looks something like this.
As you can see, it's just a clean list of your available repositories, making it easy to find the project you want to work on.
The Rise of Git-Based Workflows in the Enterprise
This direct-to-Git model is becoming a huge deal, especially as more large companies standardize their entire workflow on GitHub. By 2025, over 90% of Fortune 100 companies were using GitHub not just for code, but for content too. They rely on its powerful enterprise features like Codespaces and top-notch security tools.
For a visual CMS, syncing directly with GitHub means it can slot right into these corporate environments, respecting existing audit logs and security protocols that enterprises absolutely require.
The core idea is simple: the CMS acts as a secure, user-friendly interface on top of your repository. It doesn't get special privileges; it just uses the permissions you already have to make content updates easier and safer.
By handling the connection through GitHub's own secure systems, you get the best of both worlds. Your content team gets a powerful, intuitive editing tool, and your repository stays protected by GitHub's world-class security.
To see how this all comes together, check out our guide on choosing a CMS for GitHub Pages. It really shows how you can build a workflow that's both efficient and secure right from the start.
Mastering Your Git-Based Content Workflow
Once you’re connected to GitHub, the real work begins—and this is where you'll see a huge difference in your daily routine. You can finally step away from the command line and embrace a true Git-based content workflow. The entire philosophy is built around a simple idea: saving your work is versioning your work.
Think about writing a new blog post the old way. You'd likely save a local file, maybe have a separate document for drafts, and then, when you’re ready, you'd have to manually run a few Git commands to commit and push everything. A visual, Git-centric tool like JekyllPad completely changes that game.
Every time you hit save, you're not just updating a file; you're creating a distinct, timestamped version in your repository's history. This "auto-save as commit" behavior is your safety net. It gives you a clean, atomic record of every single revision, making it incredibly easy to track changes or roll back to an earlier version if a mistake slips through. You never have to think about typing git commit -m "updated the intro paragraph" again. The system just handles it.
Working With Branches for Team Collaboration
For anyone working on a team, branches are non-negotiable. Think of them as parallel timelines for your website. They let you work on new content, test a redesign, or fix a typo without ever touching the live site. When you sync with github, this powerful feature becomes something anyone on the team can use, not just developers.
For example, a content marketer could spin up a new branch called q4-promo-campaign right from the editor. They can then draft all their blog posts, update landing pages, and tweak copy in a completely isolated space.
This workflow is a win-win for a few key reasons:
- Safety First: The
mainbranch, which is usually what deploys your live site, stays pristine and stable. No half-finished drafts are going live by accident. - Built-in Reviews: When the marketer's content is ready, they can open a pull request on GitHub. This gives an editor or developer a chance to look over all the changes before they get merged.
- Total Clarity: All related edits are neatly bundled together on one branch. It’s easy to see the entire scope of a content push at a glance.
This separation is fundamental. It gives content creators the freedom to work without fear of breaking anything, while developers maintain the stability of the production site. It’s collaboration, not chaos.
This simple connection process—authorize, select your repo, and get to work—is a massive leap forward for how content and development teams can work together.
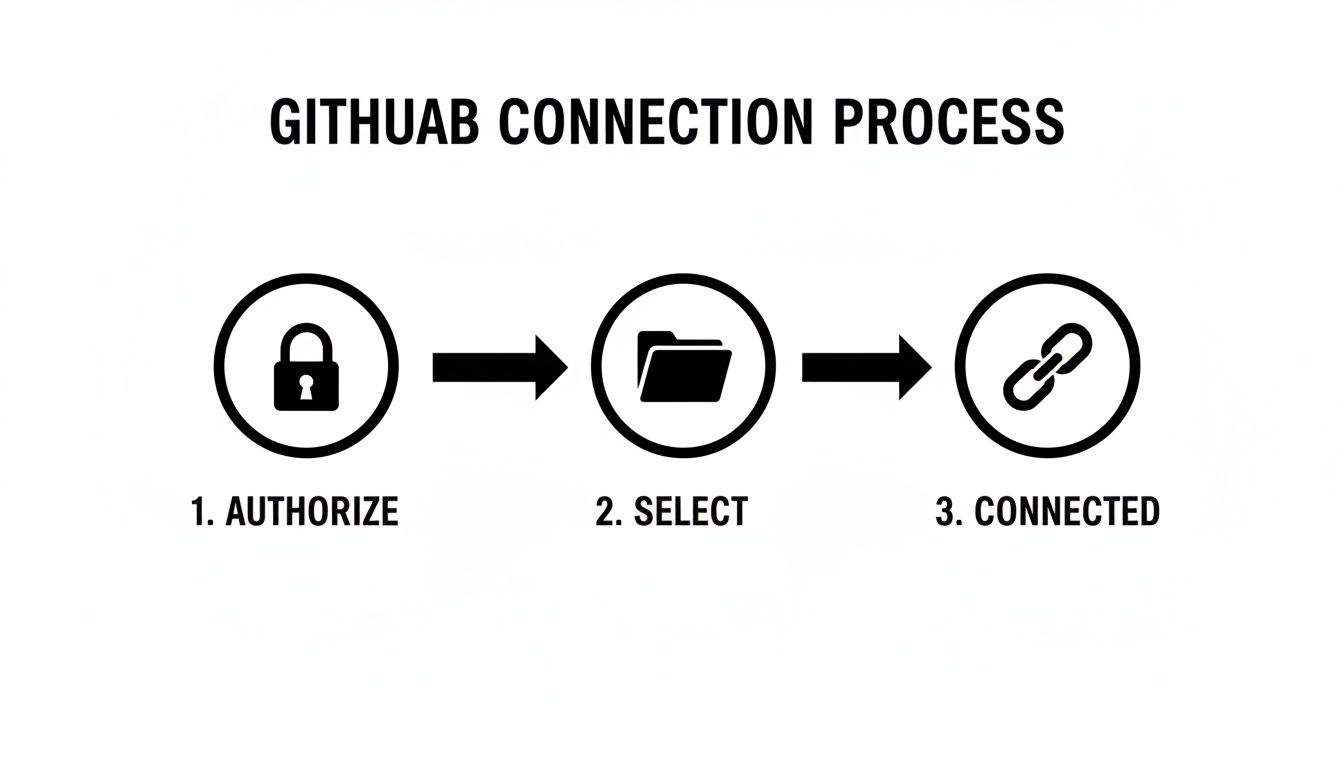
As you can see, what used to be a complex technical hurdle is now just a few simple clicks to establish a secure, productive link to your code.
A Real-World Example in Action
Let’s walk through a typical scenario. A marketer needs to update the copy on a major landing page and publish a new promotional blog post.
- First, they create a new branch. Inside JekyllPad, they’ll create and switch to a new branch, maybe calling it
q4-promo-updates. All their work will now happen here. - Next, they edit the page. They open the landing page file and start making changes. Every time they click save, a new commit is automatically pushed to the
q4-promo-updatesbranch on GitHub. - Then, they draft the post. They create a new Markdown file for the blog post and start writing. Just like before, each save creates a clean, descriptive commit in the background.
- Finally, they submit it for review. With all the content ready, they pop over to GitHub and open a pull request to merge the
q4-promo-updatesbranch intomain.
A developer on the team gets a notification, sees the exact file changes, and finds a clean history of commits—far more transparent than a Word doc with tracked changes. After a quick approval, the branch is merged, and an automated build can deploy the new content to the live site.
This approach is much simpler for non-technical users, but it's still based on the same powerful Git principles that developers rely on. Take a look at this comparison:
JekyllPad Workflow vs Traditional Git Workflow
Here's a quick breakdown of how much easier common tasks become when you move from the command line to a visual interface designed for content creators.
| Task | Traditional Git Command Line | JekyllPad Visual Interface |
|---|---|---|
| Start New Work | git checkout -b new-feature |
Click "Create Branch," type name, click "OK." |
| Save Changes | git add . then git commit -m "message" |
Click the "Save" button. That's it. |
| Push Updates | git push origin new-feature |
Saving automatically pushes to the current branch. |
| Review History | git log --oneline |
View a visual list of commits in the UI. |
| Switch Context | git checkout main |
Select a different branch from a dropdown menu. |
This isn't about replacing Git; it's about making its power accessible to everyone on the team, from marketers to editors and beyond.
This method aligns perfectly with modern development practices. If you want to understand the bigger picture, it's worth reading about GitOps and how it transforms deployment workflows. While that concept often focuses on infrastructure, the core principle of using Git as the single source of truth applies beautifully to content. For a more focused look, you can also explore our overview of what a GitHub-based CMS can do for your team.
Automating Your Publishing with GitHub Actions
Connecting your repository is a great first step, but let's get into the real power play: automating your publishing. When you sync with GitHub, every single commit you make from your visual editor can trigger a live deployment. This is the heart of a modern content workflow, and it’s all driven by a fantastic feature called GitHub Actions.
This kind of automation has fundamentally changed how we manage static sites. GitHub Actions now runs over 5 million workflows every day, supported by a huge marketplace of pre-built tools. For us static site folks, this means we can set up a publishing pipeline once and then forget about it, completely removing the need for manual build steps.
The entire process is managed by a simple YAML file tucked away in a special .github/workflows/ directory in your repository. Once you've set it up, GitHub handles everything else.
Understanding the Workflow File
At first glance, a workflow file can look a bit complex, but it's really just a recipe. It tells GitHub when to do something and what steps to follow.
Let's quickly demystify the key parts you'll see in a typical workflow for a Jekyll or Hugo site:
on: push: This is your trigger. It instructs GitHub to run the workflow whenever new commits are pushed to a specific branch, which is usuallymain.jobs: This section outlines the actual work to be done. You can have one or more jobs that run one after the other or at the same time.build: A common name for the job that gets your site ready. It includes steps for checking out your code, setting up the necessary software (like Ruby for Jekyll), and running the build command.deploy: Once the build is successful, this job grabs the final site files (from a_siteorpublicfolder) and pushes them to your hosting provider.
The beauty of this is that you connect content creation directly to your live site. An editor can save a change in JekyllPad, and a few minutes later, that update is live on the website—no developers needed.
A Starter Workflow for GitHub Pages
For many of us, GitHub Pages is the perfect, no-cost hosting solution for static sites. The workflow below is a fantastic starting point for automatically building and deploying a Jekyll site whenever you push changes to your main branch.
If you need a refresher on getting your repository ready, check out our detailed guide on how to use GitHub Pages: https://www.jekyllpad.com/blog/how-to-use-github-pages.
Here’s a simple YAML file you can copy and save as .github/workflows/deploy.yml to get started immediately:
name: Build and Deploy Jekyll Site
on: push: branches: - main
jobs: build_and_deploy: runs-on: ubuntu-latest steps: - name: Checkout uses: actions/checkout@v4
  - name: Setup Ruby and Jekyll
    uses: ruby/setup-ruby@v1
    with:
      ruby-version: '3.1' # Or your preferred version
      bundler-cache: true

  - name: Build site
    run: bundle exec jekyll build

  - name: Deploy to GitHub Pages
    uses: peaceiris/actions-gh-pages@v3
    with:
      github_token: ${{ secrets.GITHUB_TOKEN }}
      publish_dir: ./_site
Each uses: line pulls in a pre-built Action from the marketplace, which saves you from having to write a ton of complex scripts yourself.
For those looking to take this a step further, combining GitHub Actions with a GitOps approach can be incredibly powerful. This combination makes your repository the single source of truth for both your content and its deployment, creating a truly seamless and declarative system.
Troubleshooting Common GitHub Sync Issues
Even the most streamlined workflow hits a snag now and then. When you're trying to sync with GitHub, you'll eventually run into a hiccup. It's perfectly normal, and knowing how to diagnose the problem will save you from having to track down a developer for help.
Most issues you'll encounter fall into one of three buckets: merge conflicts blocking your saves, permission problems locking you out, or failed builds that keep your site from updating. Let’s break down how to tackle each one.
Navigating Merge Conflicts
A merge conflict sounds scary, but it's really just GitHub's way of saying it’s confused. This happens when the same line of a file gets edited in two different places before a sync can happen—say, you made a change in JekyllPad while a colleague pushed an update directly to the repository.
When JekyllPad can’t push your save because of a conflict, the fix is usually fastest inside GitHub itself.
- Head to Your Repository: GitHub will show a clear warning that your branch has a conflict.
- Resolve the Conflict: Click the "Resolve conflicts" button to see the competing changes side-by-side.
- Pick the Winner: All you have to do is delete the version you don’t want, remove the conflict markers (the lines with
<<<<<<<and>>>>>>>), and save your changes.
After you've sorted it out on GitHub, just pull the latest version back into your editor, and you’ll be back on track.
Pro Tip: To sidestep conflicts altogether, try to stick to a "single source of truth." If your team agrees to make all content edits through a visual editor like JekyllPad, you'll dramatically reduce the chances of creating competing updates.
Permission and Access Problems
Sometimes the problem isn't the code, it's your keys to the house. If you see an error about a failed push or an inability to access a repository, it almost always comes down to your GitHub permissions.
First, double-check if the repository is private. If it is, your account needs at least Write access to make changes. If you're part of a larger team or company, an admin might need to grant third-party app access or you might be running into a branch protection rule. Getting in touch with your organization's GitHub administrator is the quickest way to get this sorted out.
Decoding Failed GitHub Actions Builds
So, you saved your changes, the sync went through, but your live site hasn't updated. What gives? This is a classic sign of a failed build in GitHub Actions, where the automated process that deploys your site has hit an error.
To figure out what went wrong, go to the "Actions" tab in your GitHub repository. You'll see a log of every build attempt. Find the one with a red X next to it and click in to see the details.
For static site generators like Jekyll, Hugo, Astro, or Eleventy, the usual suspects are:
- A broken link somewhere in your content.
- A simple typo in a page's YAML front matter.
- A reference to an image or asset that doesn't exist.
The good news is the build log will almost always pinpoint the exact file and line number that caused the failure. That makes it incredibly easy to hop back into your editor, fix the mistake, and sync again.
Common Questions About Syncing with GitHub
Switching to a new workflow always brings up a few questions. When you're thinking about using a visual editor to sync with GitHub, you're probably wondering about security, flexibility, and whether it will even work with your specific setup. Let's clear up some of the most common concerns right away.
How Secure Is Connecting My GitHub Account?
This is the big one, and for good reason. When you connect an app to your GitHub account, it uses a standard, secure process called OAuth. This is the same method used by countless trusted services.
The key thing to understand is that you're never sharing your password. Instead, you grant the app specific, limited permissions. For a tool like JekyllPad, that means giving it just enough access to read your repository's files and push commits for you—and nothing more.
Your credentials stay completely private. Since JekyllPad is a client-side application, your content and credentials only travel between your browser and GitHub’s servers. They aren't stored on some other company's backend, which adds an extra layer of security.
Can I Work on a Private Repository?
Of course. Any decent Git-based CMS is built to work seamlessly with GitHub's permission system. If your personal GitHub account has access to a private repository—whether it’s one you own or one you’re a collaborator on—the editor can connect to it.
As long as you have "Write" permissions on the repo, you're good to go. This works for both personal projects and private repos owned by organizations you belong to.
What Happens If My Internet Connection Drops?
We've all been there—you're in the middle of something important, and the Wi-Fi dies. It’s a totally valid concern. In a workflow where every save is a commit, a failed connection simply means that specific save won't go through to GitHub.
But your work isn't gone. Not at all. Your changes are still safe and sound in your browser's editor. The moment your connection comes back, just hit save again. The commit will push through, and you won't lose a single thing.
Think of it this way: your local editor and your remote GitHub repo are the two sources of truth. A network hiccup just puts a temporary pause on the sync between them; it doesn't delete your progress.
Which Static Site Generators Are Supported?
It’s easy to worry that a new tool won't play nicely with your favorite static site generator. The good news is that most modern visual editors are completely generator-agnostic. Why? Because they operate on the fundamental building blocks: Markdown files and YAML front matter.
This means you can easily manage content for just about any popular generator out there.
At the end of the day, if your site is built from standard files sitting in a GitHub repository, a visual CMS will fit right into your workflow.
Ready to stop wrestling with the command line and start focusing on your content? JekyllPad provides a seamless, secure, and intuitive way to sync with GitHub. Try it for free today at https://www.jekyllpad.com and see how simple a Git-based workflow can be.