
At its core, GitHub Pages is wonderfully simple. You push your static site files—like your index.html—to a GitHub repository, flip a switch in the settings, and just like that, your site is live. It gets a *.github.io URL and you've got free, secure, and version-controlled hosting tied directly to your code.
Why GitHub Pages Is a Developer's Best Friend

Before we jump into the step-by-step, it's important to understand why so many developers lean on GitHub Pages. This isn't just another free hosting service; it’s a natural extension of a developer’s workflow. By keeping your website's files in the same repository as its source code, you remove nearly all the friction between writing code and getting it online.
This tight integration of code and content delivers some serious advantages:
- Integrated Version Control: Every single update to your site is a Git commit. This gives you a complete, indestructible history. Accidentally push a change that completely messes up the layout? No sweat. A quick
git revertwill roll it back instantly. - Seamless Collaboration: Bringing a team into the mix is a breeze. They can clone the repo, branch off to work on a new feature or blog post, and submit pull requests for review. It's the same battle-tested workflow you'd use for any software project.
- No Extra Costs or Servers: For any public repository, it’s completely free. Forget about managing servers, fumbling through hosting panels, or dealing with SSH keys just to deploy your site.
A Powerful and Efficient Choice
Ever since its launch back in 2008, GitHub Pages has grown into a go-to service for hosting static websites. It's a favorite for open-source projects and anyone new to web hosting because it completely sidesteps the headache of traditional server management.
It also has native support for tools like Jekyll, a popular static site generator, which lets you build complex blogs and documentation sites that automatically rebuild and deploy every time you push a change. You can see how certain tools are built specifically to work with GitHub Pages features to get a better sense of how smooth this process can be.
The real magic is its combination of simplicity and power. You get the rock-solid reliability of GitHub's infrastructure, free HTTPS, and custom domain support, all managed from an interface you already know.
This whole setup naturally encourages a clean continuous integration and deployment (CI/CD) pipeline for your content. When you layer on tools designed for this ecosystem—like a visual editor that commits changes directly to your repository—the entire publishing process becomes incredibly efficient. Imagine a content writer using a simple WYSIWYG editor to draft a post; the moment they hit "save," it could trigger a deployment and push their changes live.
Go Live in Less Than Five Minutes
Ready to get a site live on the web? Seriously, it takes less than five minutes. We're going to walk through the exact steps to publish a simple webpage using nothing but your GitHub account. No servers, no complex tools, just a few clicks.
First things first, your website's files need a home. On GitHub, we call this a repository, or just "repo" for short. Head over to your GitHub account and create a new public repository. For this first run, let's keep it simple and name it something like my-first-site.
With your new repo ready, we need to give it a homepage. By default, web browsers automatically look for a file named index.html to display. Inside your new repo, click the "Add file" button and create a new file, naming it exactly index.html.
Creating Your First Webpage
You don't need to know any HTML to get this working. Just copy and paste the snippet below into your new index.html file. It’s a complete, albeit very basic, webpage.
<!DOCTYPE html>
<html lang="en">
<head>
    <meta charset="UTF-8">
    <title>My First GitHub Pages Site</title>
</head>
<body>
    <h1>Hello, World!</h1>
    <p>Welcome to my website, hosted on GitHub Pages.</p>
</body>
</html>
Once the code is in there, scroll down the page and commit the new file. This saves your index.html directly to the main branch. Now for the magic part: telling GitHub to publish it.
Flipping the Switch in Your Settings
Go to your repository's Settings tab. On the left sidebar, you'll find the "Pages" section—this is your control panel for the live site.
Under the "Build and deployment" area, you'll see an option for "Source." This tells GitHub where to find your website files. The setup is straightforward:
- Make sure Deploy from a branch is selected.
- For the "Branch," choose your
mainbranch. - Leave the folder set to
/ (root). - Click Save.
The settings panel you're looking for will look just like this:
The moment you hit save, GitHub kicks off a background process (using GitHub Actions) to build and publish your site from that main branch.
Give it a minute or two, then refresh the Pages settings page. You should see a green bar pop up at the top confirming, "Your site is live at..." followed by your new URL. It’ll be something like https://your-username.github.io/my-first-site.
And just like that, you're live! You now know how to use GitHub Pages to launch a website. This core workflow—creating a repo and pointing Pages to a branch—is the same fundamental process you'll use for everything from a simple online resume to a full-blown documentation site.
This rapid deployment is also perfect for prototyping. For anyone focused on building an MVP to validate your idea fast, the speed from a simple commit to a shareable URL is a massive advantage. It makes GitHub Pages an incredible tool for quick experiments.
Picking the Right Tool for the Job: Your Static Site Generator
Sure, you can get a site live in minutes with a single index.html file, but the real magic behind GitHub Pages happens when you bring in a Static Site Generator (SSG). Think of an SSG as a smart engine that takes your simple content files—usually written in Markdown—and builds an entire, ready-to-go website from them.
Instead of coding every single HTML page by hand, you focus on writing content and creating templates. The generator handles all the repetitive work. This is a game-changer for blogs, documentation sites, and portfolios. The big question is, which one should you use? It really boils down to what you need for your project: simplicity, raw speed, or modern flexibility.
The path from a new repository to a live website involves a few key decisions, and once you have your content generator picked out, you're well on your way.
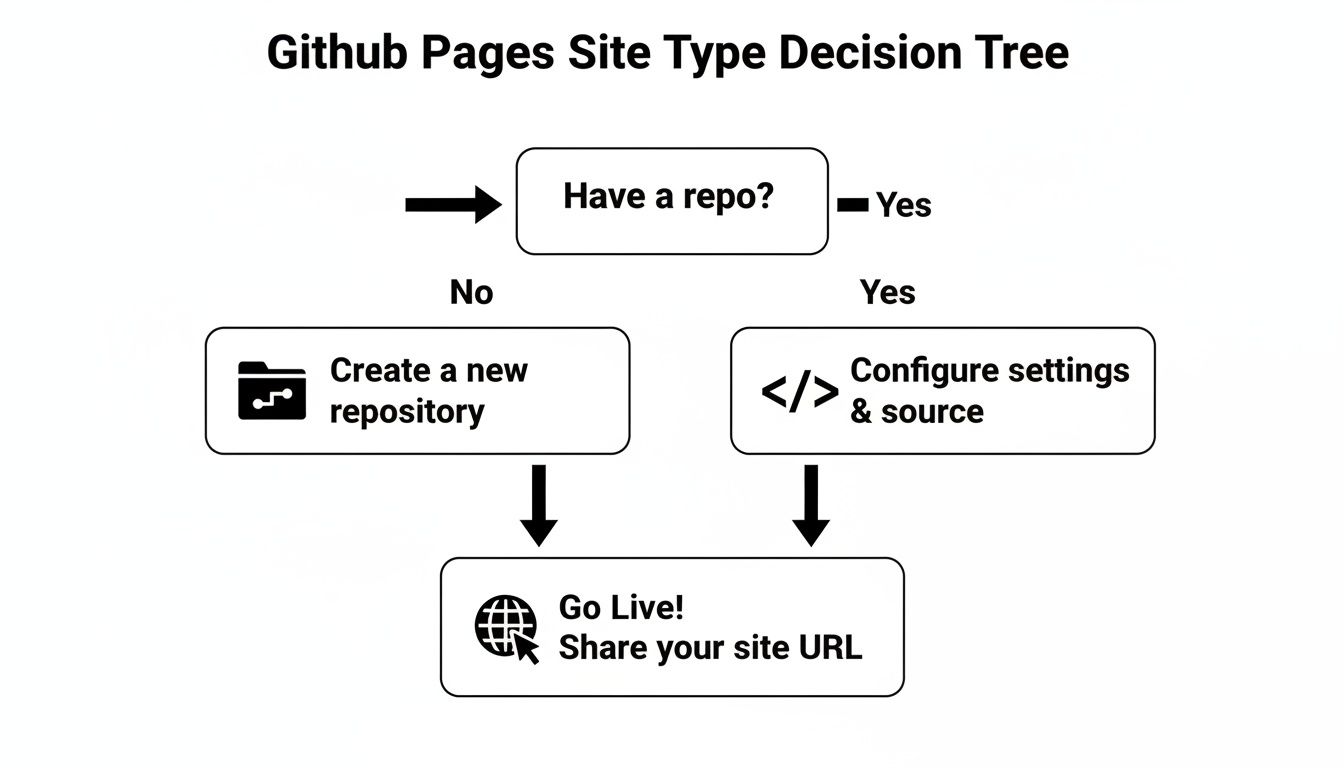
This map shows that after setting up the repo, your main job is building the site itself. Let’s look at the best tools to do just that.
Jekyll: The Classic, Built-In Choice
Jekyll is the original SSG for GitHub Pages, and it comes with a huge advantage: native support. This means you just push your Jekyll project files to your repository, and GitHub automatically builds and deploys the site for you. No extra setup required.
This tight integration makes it the most straightforward path to launching a feature-rich static site.
- Best For: It's perfect for personal blogs, simple portfolios, and project sites where you want to get up and running with minimal fuss. For beginners, the learning curve is quite gentle.
- The Trade-off: For massive sites with thousands of pages, Jekyll's build times can start to feel a bit sluggish compared to newer tools. Customizing it heavily might also mean getting your hands dirty with its Ruby-based ecosystem.
When you're writing posts for a Jekyll site, Markdown is your best friend. If staring at plain text isn't for you, an online Markdown WYSIWYG editor can make the whole process feel more like a familiar CMS, letting you focus purely on your content.
Comparing Popular Static Site Generators for GitHub Pages
Choosing an SSG can feel overwhelming, but breaking it down by their strengths helps clarify which one fits your project. Here’s a quick comparison to guide your decision.
| Generator | Key Advantage | Learning Curve | Best For |
|---|---|---|---|
| Jekyll | Native GitHub Pages support | Low | Blogs, portfolios, beginners |
| Hugo | Blazing-fast build speeds | Medium | Large documentation sites, content-heavy blogs |
| Eleventy | Extreme flexibility, zero JS default | Medium | Lightweight marketing sites, digital gardens |
| Astro | Modern JS features, "islands architecture" | Medium-High | Interactive landing pages, component-driven sites |
Ultimately, the "best" generator is the one that aligns with your technical comfort and the scale of your project. If you're just starting out, Jekyll's simplicity is hard to beat. If you're building something massive or need modern JavaScript features, Hugo, Eleventy, or Astro are worth the extra setup.
Hugo: The Speed Demon
When build time is your top priority, nothing beats Hugo. Written in Go, it's famous for its incredible performance, capable of rendering thousands of pages in the blink of an eye. This speed is a lifesaver for large-scale projects like massive documentation hubs or blogs with years of content.
Unlike Jekyll, Hugo isn't supported out of the box by GitHub Pages. You'll need to set up a simple GitHub Actions workflow to tell GitHub how to build your site. It’s an extra 15-minute step upfront, but the payoff in speed is absolutely worth it for larger projects.
Eleventy and Astro: The Modern Contenders
For developers who crave flexibility and want to use the latest web technologies, Eleventy (11ty) and Astro are two of the best options out there.
Eleventy is all about simplicity and choice. It works with over ten different templating languages right away (like Markdown, Liquid, and Nunjucks) and, crucially, ships zero client-side JavaScript by default. The result? Exceptionally fast and lightweight websites.
Astro has gained a lot of attention for its "islands architecture." This clever approach lets you build speedy, content-first websites that only load JavaScript for the specific interactive components that need it—like an image carousel or a contact form. It's ideal for marketing sites or portfolios that require some dynamic flair without bogging down the entire page.
Both of these require a GitHub Actions workflow to deploy, just like Hugo. They represent the modern, JavaScript-focused direction of static site generation, offering incredible power for developers comfortable in that world. Your choice between them often comes down to personal preference and the specific needs of your project.
Automating Deployments with GitHub Actions
Let's be honest: manually building your site and pushing the generated files to a specific branch is a drag. It’s tedious, and it's way too easy to mess something up. This is the perfect job for a robot.
Enter GitHub Actions. It's a powerful tool that can turn your deployment workflow into a completely automated, hands-off pipeline. With a simple configuration file, you can tell GitHub to build and deploy your site every single time you push a new commit. This is the core idea behind Continuous Integration/Continuous Deployment (CI/CD), and you can get it running for your static site in just a few minutes.
This level of automation is a big reason why developers are flocking to platforms like GitHub. In fact, automation workflows on GitHub have jumped by over 35% year-over-year, and deployment cycles are now 30% faster. By using Actions with Pages, your site gets all the benefits of tight version control and automation. You can read more about GitHub's growth trends at Kinsta.com.
A Practical Workflow for Your SSG
To get started, you'll need to create a .github/workflows directory at the root of your project. Inside that folder, create a new file and name it something like deploy.yml. This YAML file is your instruction manual for GitHub.
Here's a battle-tested example that works great for a Hugo site. You can easily adapt this for Eleventy or Astro just by changing the build command.
name: Deploy GitHub Pages
on: push: branches: - main # Trigger the workflow on pushes to the main branch
jobs: build-deploy: runs-on: ubuntu-latest steps: - name: Checkout uses: actions/checkout@v3
  - name: Setup Hugo
    uses: peaceiris/actions-hugo@v2
    with:
      hugo-version: 'latest'

  - name: Build
    run: hugo --minify # Build the site

  - name: Deploy
    uses: peaceiris/actions-gh-pages@v3
    with:
      github_token: ${{ secrets.GITHUB_TOKEN }}
      publish_dir: ./public # The folder Hugo builds to
Breaking Down the Workflow File
That YAML file might look a little intimidating at first, but it’s quite logical once you see how it’s put together.
on: push: branches: [ main ]: This is the trigger. It tells GitHub to kick off this entire process every time you push a commit to themainbranch.jobs: build-deploy: This defines the actual work to be done. We've got one job here,build-deploy, which will run on a virtual machine using the latest version of Ubuntu.steps: These are the individual commands. The workflow checks out your code, installs Hugo, runs thehugocommand to build your static files, and finally—this is the magic part—it pushes the contents of thepublicfolder to yourgh-pagesbranch for deployment.
The best part? This whole process is defined as code, right inside your repository. It's version-controlled, easy to review, and completely customizable. If you ever change your build process, you just tweak this one file.
Getting the YAML syntax right is key, as a single misplaced space can break things. If you're new to YAML, it's a good idea to run your code through an online YAML validator and editor to catch any errors before committing. Once this file is in place, you'll never have to manually deploy your site again. Just push your changes, and GitHub will handle the rest.
Setting Up a Custom Domain with HTTPS

While the default your-username.github.io address is perfectly fine for getting started, a custom domain is what really makes your project look professional. It’s the difference between a side project and a serious, polished website. The best part? GitHub makes this process surprisingly simple and even handles the SSL certificate for you, completely free.
Of course, before you can connect a domain to GitHub, you actually need to own one. If you're new to this, it's worth taking a moment for understanding domain name registration and getting one from a registrar like Namecheap or Google Domains. Once you have your domain ready to go, you’re just a few steps away from connecting it.
Linking Your Domain to Your Repository
First up, you need to tell GitHub which domain you want to associate with your repository. You can do this in one of two ways.
The classic method is to add a file named CNAME (all caps, no file extension) to the root of your publishing source. Inside this file, you put one thing and one thing only: your custom domain.
So, if your domain is www.my-cool-site.com, the entire content of that CNAME file will be just that single line of text.
This screenshot shows exactly how simple it is. There’s no extra code or configuration, just the domain name itself.
But honestly, there's an easier way. Just head over to your repo’s Settings > Pages. You'll find a "Custom domain" field. Type your domain in there, hit save, and GitHub will automatically create and commit that CNAME file for you. It’s the same result with less fuss.
Configuring Your DNS Records
Now that GitHub knows about your domain, you need to tell your domain about GitHub. This involves logging into your domain registrar's dashboard and tweaking some DNS settings. This is the part that often trips people up, but it's straightforward once you know what to do.
The records you need to create depend on whether you’re using an apex domain or a subdomain.
- For an apex domain (like
my-cool-site.com): You'll need to create four separateArecords. Each one will point to a different IP address provided by GitHub. - For a subdomain (like
www.my-cool-site.comorblog.my-cool-site.com): Things are simpler. You just need to create a singleCNAMErecord that points toyour-username.github.io.
Heads Up: This is a big one. Never use a
CNAMErecord for an apex domain. It can break other essential services tied to your domain, like your email. Stick toArecords for apex domains andCNAMEfor subdomains, and you'll save yourself a lot of headaches.
Enforcing HTTPS for Security
After you've set up your DNS records, you'll need to wait for the changes to propagate across the internet. This can take anywhere from a few minutes to an hour, so be patient. You can check the status back in your repository's Pages settings.
Once GitHub confirms your domain is configured correctly, there's one last, crucial step: flicking the switch for HTTPS.
In your repo's Pages settings, just look for the Enforce HTTPS checkbox and make sure it’s ticked. That’s it! GitHub works with Let's Encrypt to automatically issue a free SSL certificate for your site, ensuring all traffic is encrypted. This gives you the little padlock in the browser bar, which builds trust with your visitors and is a non-negotiable for any modern website.
Answering Your Top GitHub Pages Questions
As you get started with GitHub Pages, you're bound to run into a few questions that pop up for almost everyone. Getting these sorted out early on can save you a ton of headaches and keep you from hitting a wall. Let's walk through some of the most common ones I hear.
Can I Use This for a Commercial Website?
The short answer is yes, you absolutely can—but with a few ground rules. GitHub Pages is a fantastic, free way to host a site for your business, whether it's a landing page for a new product, a portfolio of your work, or documentation for a tool you sell.
Where you have to draw the line is with direct e-commerce. The platform isn't built for running an online store or any site that handles transactions or sensitive user information. The terms of service are also pretty clear about prohibiting things like get-rich-quick schemes. As long as you're hosting static commercial content, you're in the clear.
User Site vs. Project Site: What’s the Difference?
This is a really important distinction because it dictates your site's URL and how you set everything up.
- A User/Organization Site is your main hub, tied directly to your account. To create one, you need a special repository named exactly like this:
your-username.github.io. You only get one of these per account, and it serves as your primary domain. - A Project Site, on the other hand, can be built from any other repository you own. These sites live on a subpath of your main domain, like
your-username.github.io/repository-name. You can have as many of these as you want—one for every project.
I like to think of it like this: your User site is your home address online. Your Project sites are like individual rooms or workshops at that address, each dedicated to something specific. It's a simple way to keep everything tidy.
Help! Why Am I Getting a 404 Error?
Seeing that "404 Not Found" page can be frustrating, but don't panic. It's almost always one of a handful of simple mix-ups. Before you go down a rabbit hole of complex debugging, work through this quick checklist.
First, make sure your site’s homepage is named index.html, all lowercase, and that it's sitting in the root of your publishing source. A stray capital letter (Index.html) or putting it in the wrong folder is a super common mistake.
Next, pop over to your repository’s Pages settings and double-check that you've selected the correct publishing source—the right branch (main or gh-pages) and folder (/ or /docs).
Finally, be patient. Deployments aren’t instantaneous. After you push a commit, give GitHub a minute or two to build and publish your changes. If you’re still seeing the 404 page after that, try a hard refresh in your browser or clear your cache. That often does the trick.
Ready to manage your site's content without the headache? JekyllPad offers a visual, browser-based CMS that integrates directly with GitHub. Edit, preview, and commit your changes in a seamless workflow. Get started with JekyllPad for free.